
Quick answer
When should ADAS calibration be checked after a repair?
Check the manufacturer’s requirements after work affecting a radar, recognition camera, sensor bracket, windscreen or relevant vehicle geometry. A warning does not have to be present. The exact vehicle and repair determine whether static calibration, dynamic calibration, another initialization or no aiming procedure is required.
Repairs that call for a calibration assessment
ADAS calibration establishes the aiming reference of supported radar or camera systems according to the manufacturer’s procedure. Accurate installation matters because these sensors supply information used by distance control, collision warnings, lane assistance and other functions.
Check the applicable repair information when work affects a sensor or the geometry it depends on. No dashboard warning does not necessarily mean no calibration is required. Equally, a tyre replacement or bumper removal does not universally require every sensor to be recalibrated.
- Front radar removal, replacement or work affecting its grille, bracket or bumper area.
- Rear BSM sensor replacement, bracket repair or collision work around its mounting area.
- Windscreen replacement, camera removal or work affecting a front recognition camera mount.
- Collision repairs that affect the sensor installation or relevant body geometry.
- Suspension-height or wheel-alignment changes where the manufacturer specifies an aiming check.
- Fault codes indicating an alignment problem or an incomplete aiming procedure.
Seven stages of diagnosis, calibration and verification
The following stages explain how ADAS work is assessed. The exact tests, equipment and order depend on the vehicle. For examples from Sri Kuching, the linked Toyota cases document the diagnosis, repairs and verification performed for each job.
1. Identify the vehicle, equipment and warning
Confirm make, model, production year and fitted assistance systems. Record the exact warning and whether it began after a collision, windscreen replacement, bumper repair, conversion or sensor replacement. Similar model names can cover different market specifications and calibration requirements.
2. Retrieve the relevant diagnostic information
A compatible diagnostic computer checks the implicated radar, camera, BSM, parking-assist and other control modules. Current and stored codes, communication status and calibration information help determine whether to investigate aiming, installation, wiring or another condition. The scan is interpreted alongside the repair history.
3. Inspect installation and vehicle condition
Inspect the affected sensor, bracket, surrounding bumper or grille, and evidence of previous repair. Camera concerns may require checking the windscreen and attachment. Tyre pressures, loading, suspension condition and wheel geometry are checked where the applicable procedure requires them. A damaged mount needs attention before aiming can be reliable.
4. Resolve relevant electrical and communication faults
Missing-message codes can require checks of power supply, grounds, connectors, wiring and network communication. A module that cannot communicate correctly may need an electrical repair, configuration or replacement before an aiming function can run. Repeatedly attempting calibration does not repair a disconnected circuit.
5. Prepare the vehicle and calibration area
Follow the manufacturer’s preparation requirements, which can include a suitable level surface, specified tyre pressures, vehicle loading and a measured equipment position. Radar reflectors or camera targets must be appropriate to the procedure and positioned correctly. General diagrams or printed web images are not calibration targets.
6. Complete the specified aiming procedure
Use the static, dynamic or combined procedure required by that vehicle. A diagnostic routine may guide equipment positioning and report completion conditions. If calibration fails, investigate the cause rather than accepting a reset warning as evidence of correct aiming.
7. Verify the completed work
Confirm that required procedures completed, rescan the relevant modules and perform the specified functional checks. A road test may be required when safe and appropriate. Remaining or returning faults require further investigation; successful warning clearance alone does not establish that every system requirement has been satisfied.
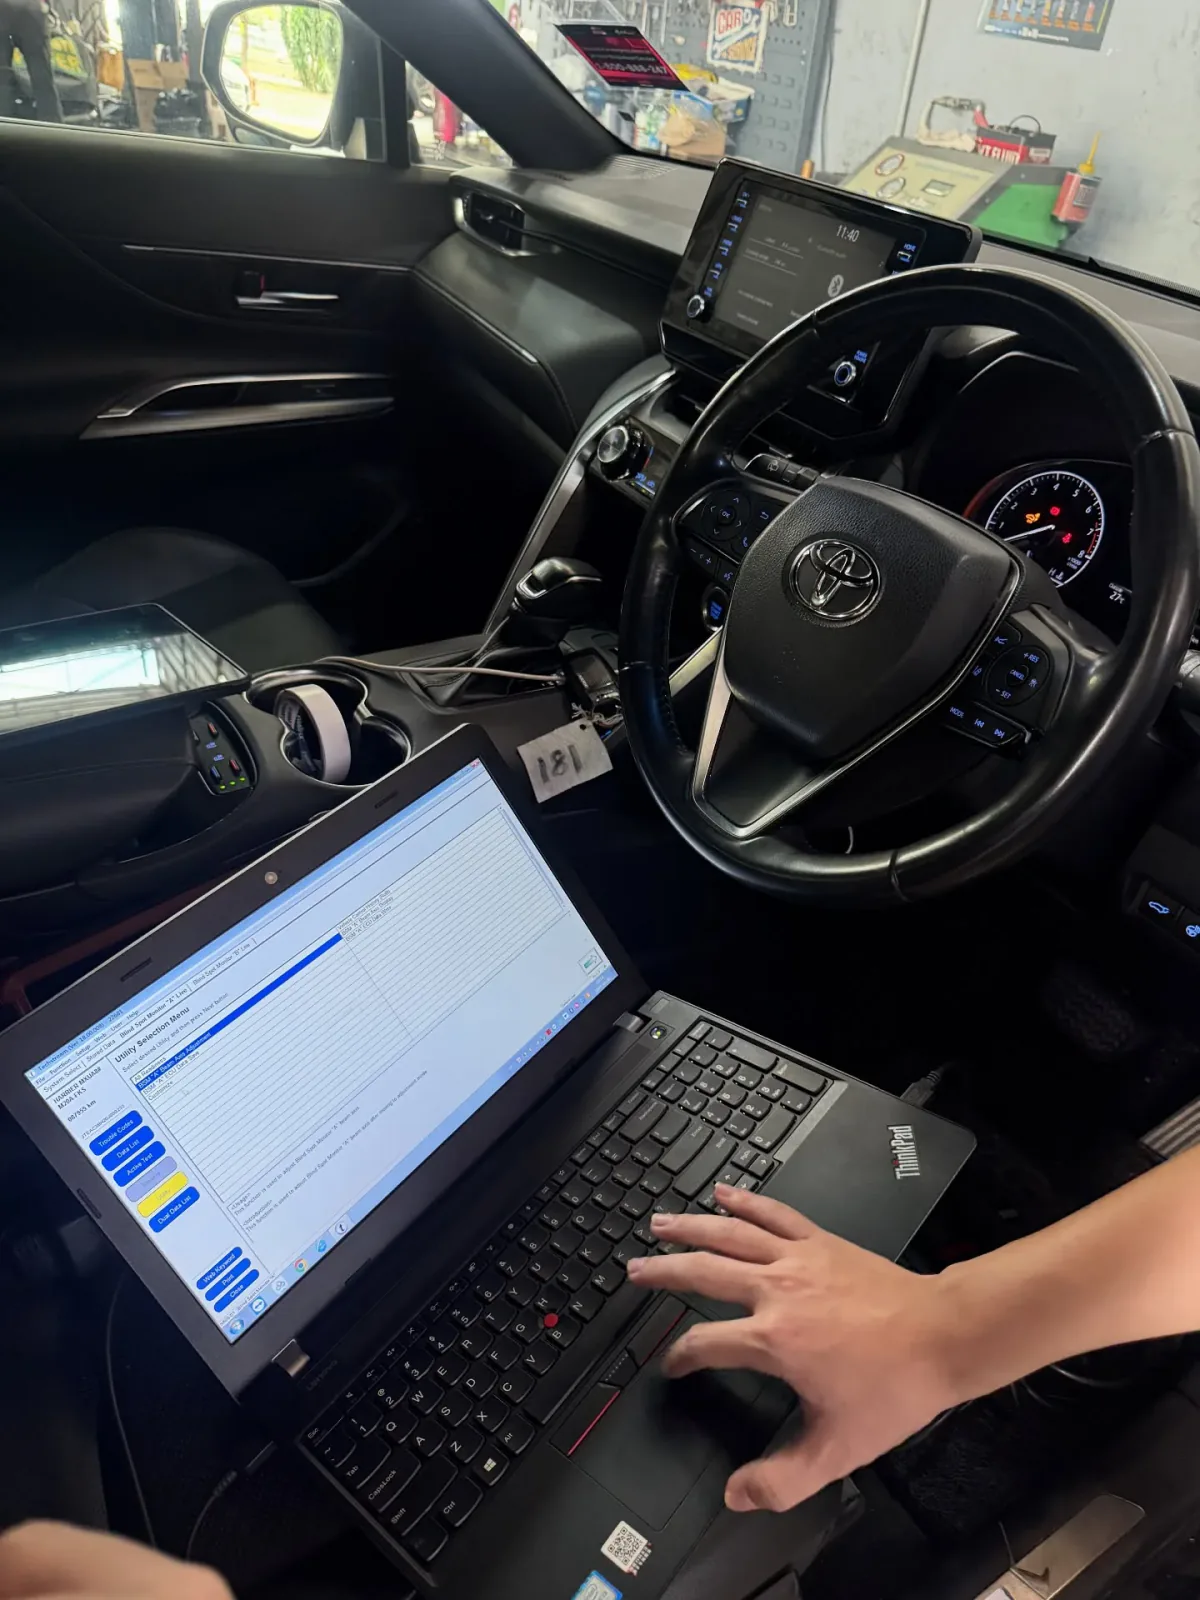
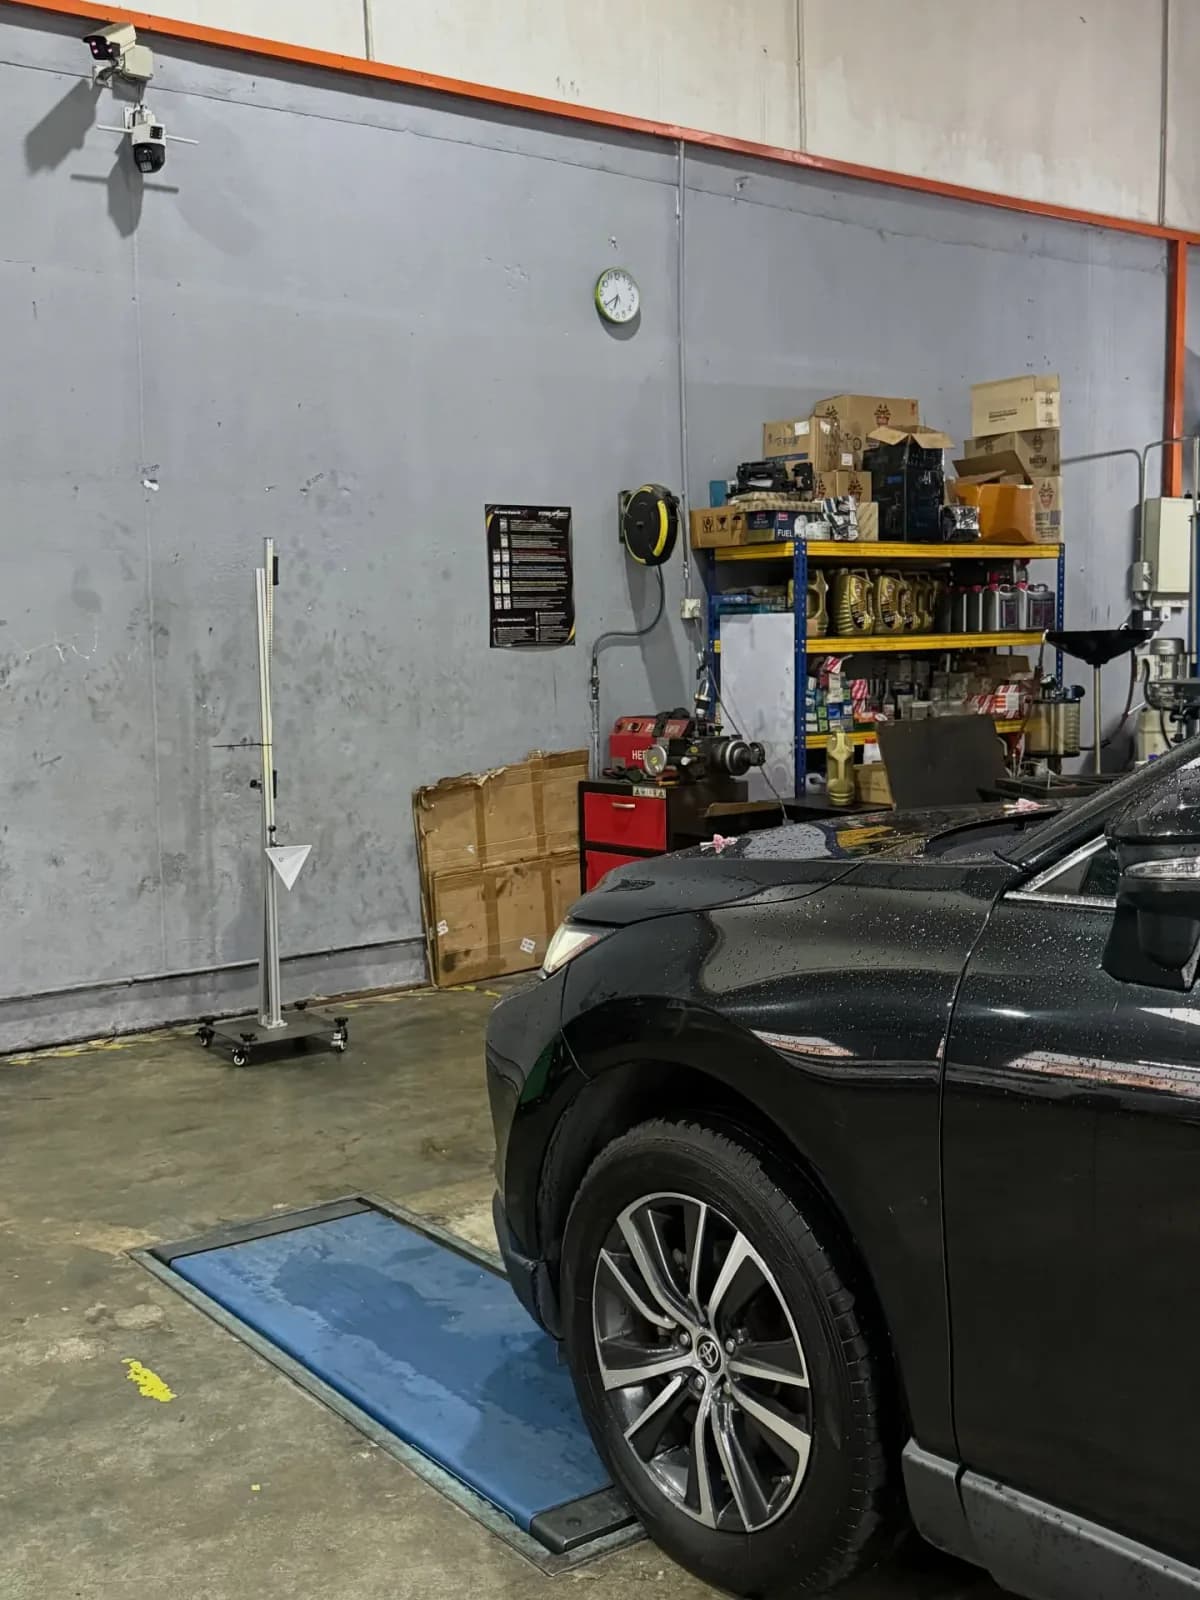
Diagnostic equipment used in the Harrier case. Its recorded work includes fault retrieval, calibration and post-work diagnostic verification.
View original case record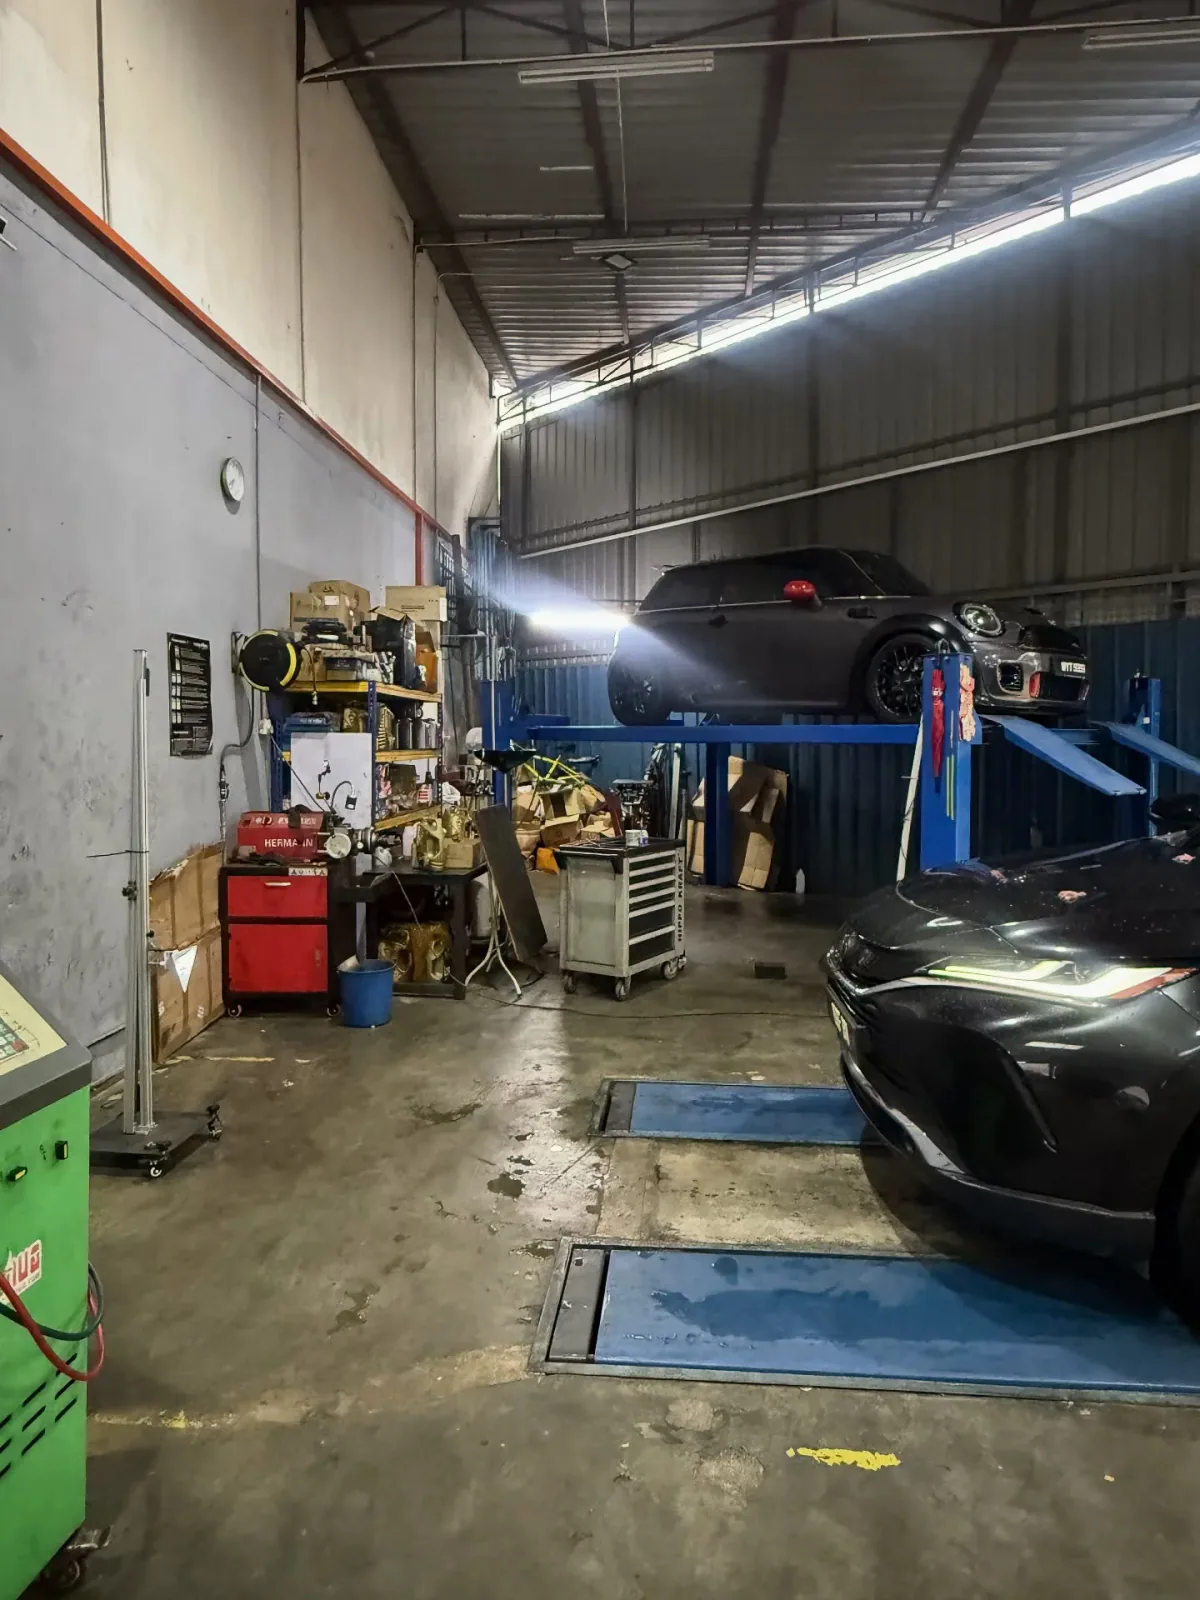
Another view of the Harrier front radar calibration setup. This workshop photograph is an example from the case, not a measurement template.
View original case recordStatic and dynamic calibration follow different requirements
Static calibration takes place with the vehicle stationary. Depending on the system, it can use camera targets, radar reflectors, measurement equipment and diagnostic calibration functions. Equipment position is referenced to the vehicle as required by its procedure.
Dynamic calibration uses a specified driving process so the system can establish its reference or complete learning. The manufacturer determines the necessary road and operating conditions. Some vehicles need one method, and others need both or an additional verification drive.
The method is selected from the vehicle’s service information, rather than simply the owner’s preference. A normal road test after a repair is also not automatically the same as completing a manufacturer-defined dynamic calibration routine.
Wheel alignment and ADAS calibration are separate procedures
Wheel alignment addresses mechanical wheel geometry, including toe, camber and caster where adjustable. It helps establish the vehicle’s intended steering and tyre contact. ADAS calibration addresses the aiming reference of radar or camera sensors.
The procedures can be related because some sensor routines depend on the vehicle’s direction of travel and geometry. Incorrect wheel alignment can therefore affect certain calibration requirements. The manufacturer’s instructions determine whether an alignment check or correction is needed first.
Completing wheel alignment does not automatically calibrate a radar or recognition camera. Calibrating a sensor likewise does not correct a mechanical steering or suspension alignment fault. The workshop identifies which work is needed for the actual vehicle.
A warning does not always require a new radar or camera
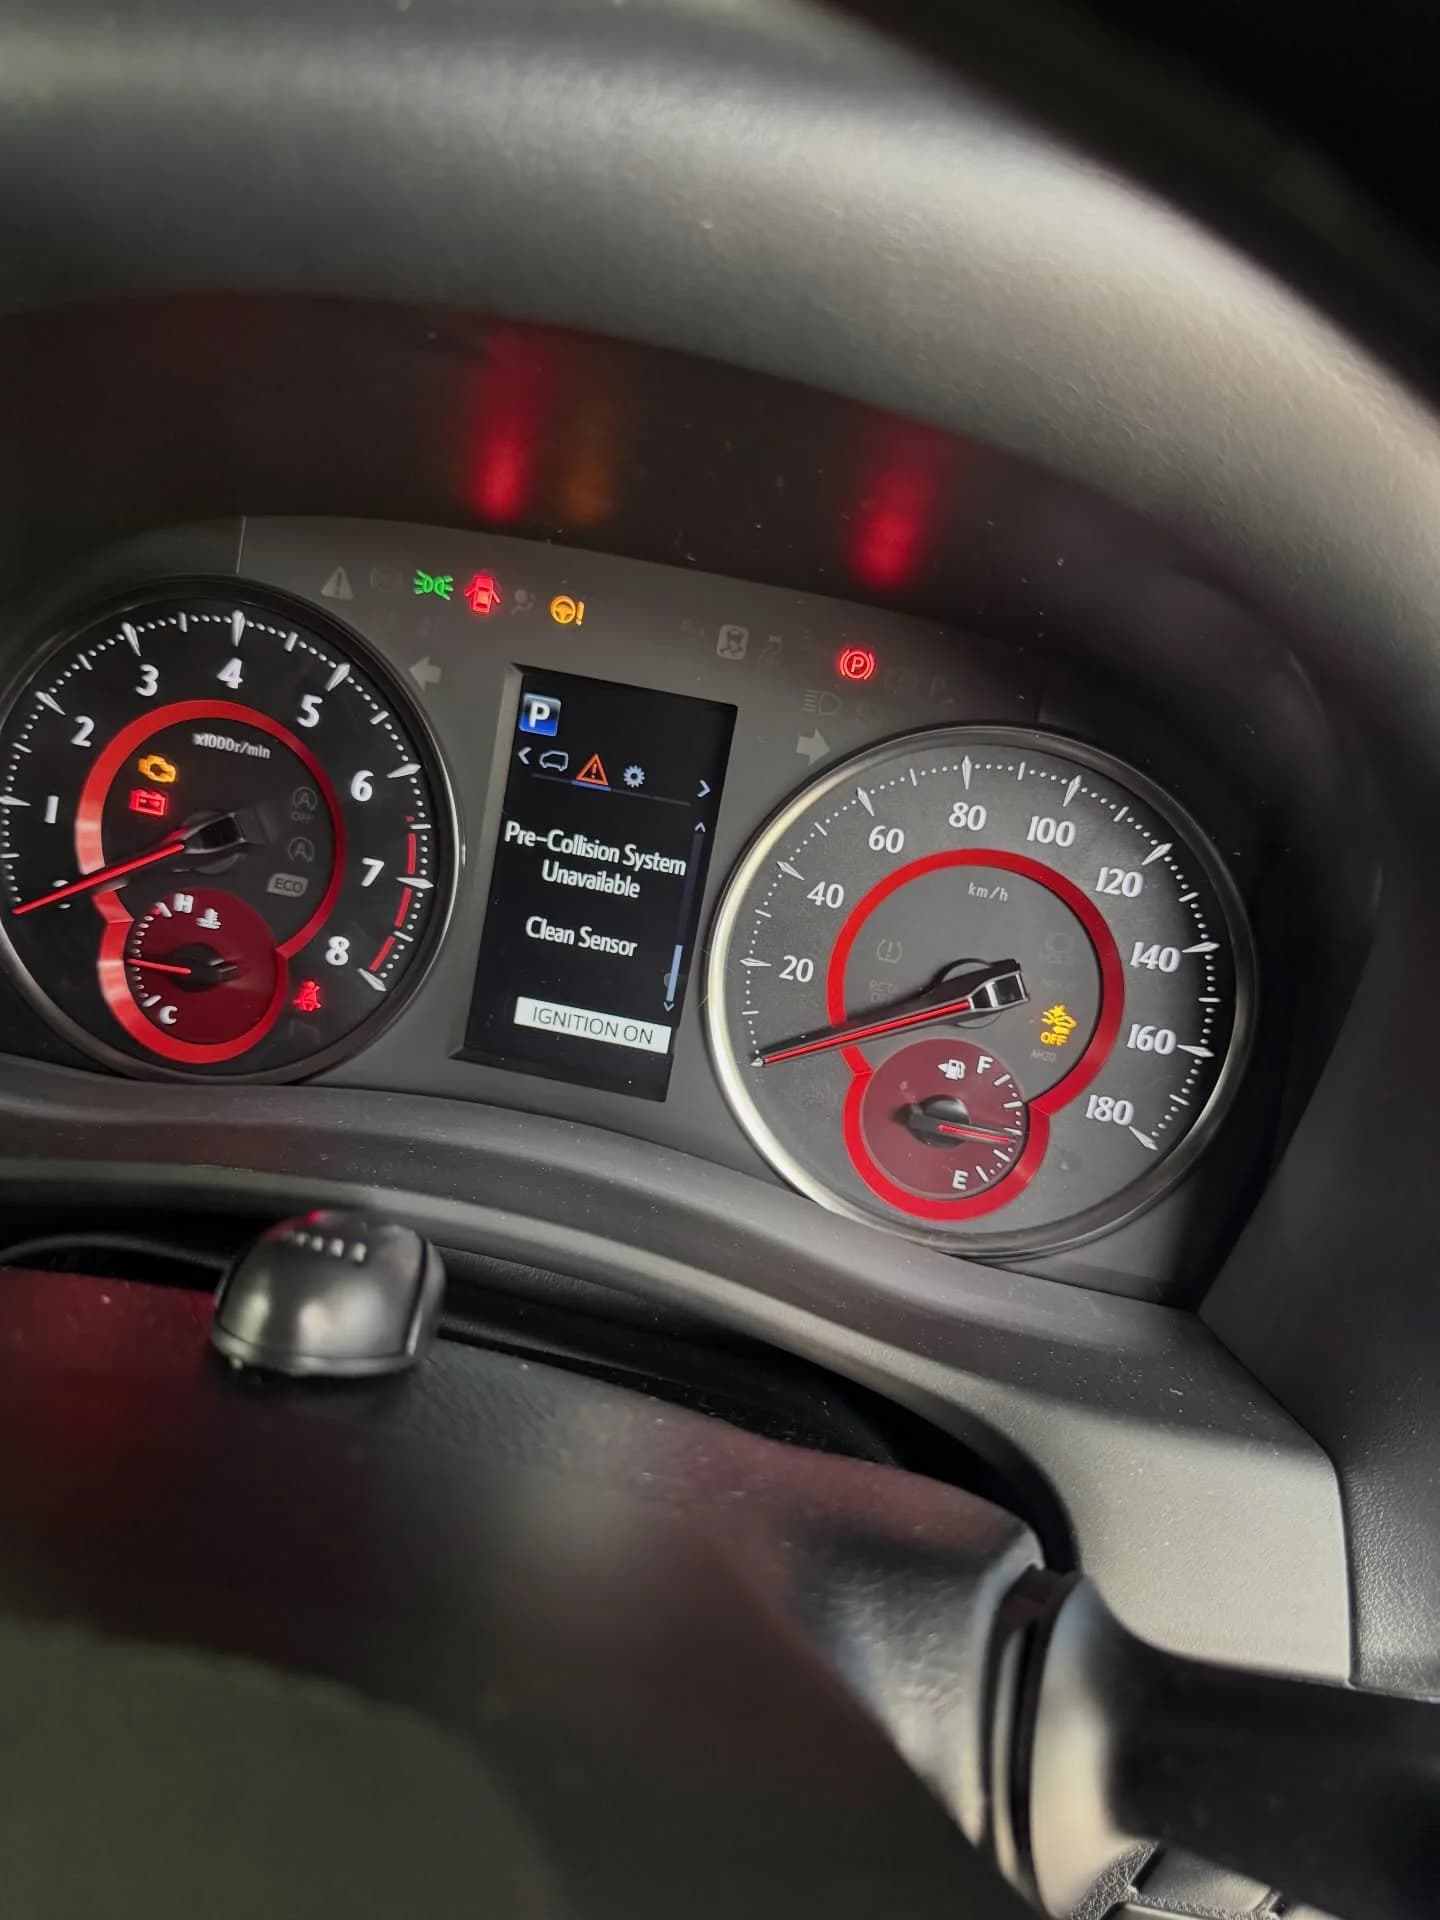
A persistent warning can involve misalignment, damaged mounting parts, a communication fault or an internally failed component. Heavy rain, sensor contamination, obstruction or poor camera visibility can also temporarily restrict some functions. Follow the vehicle’s instructions for the displayed warning and arrange inspection if the concern persists.
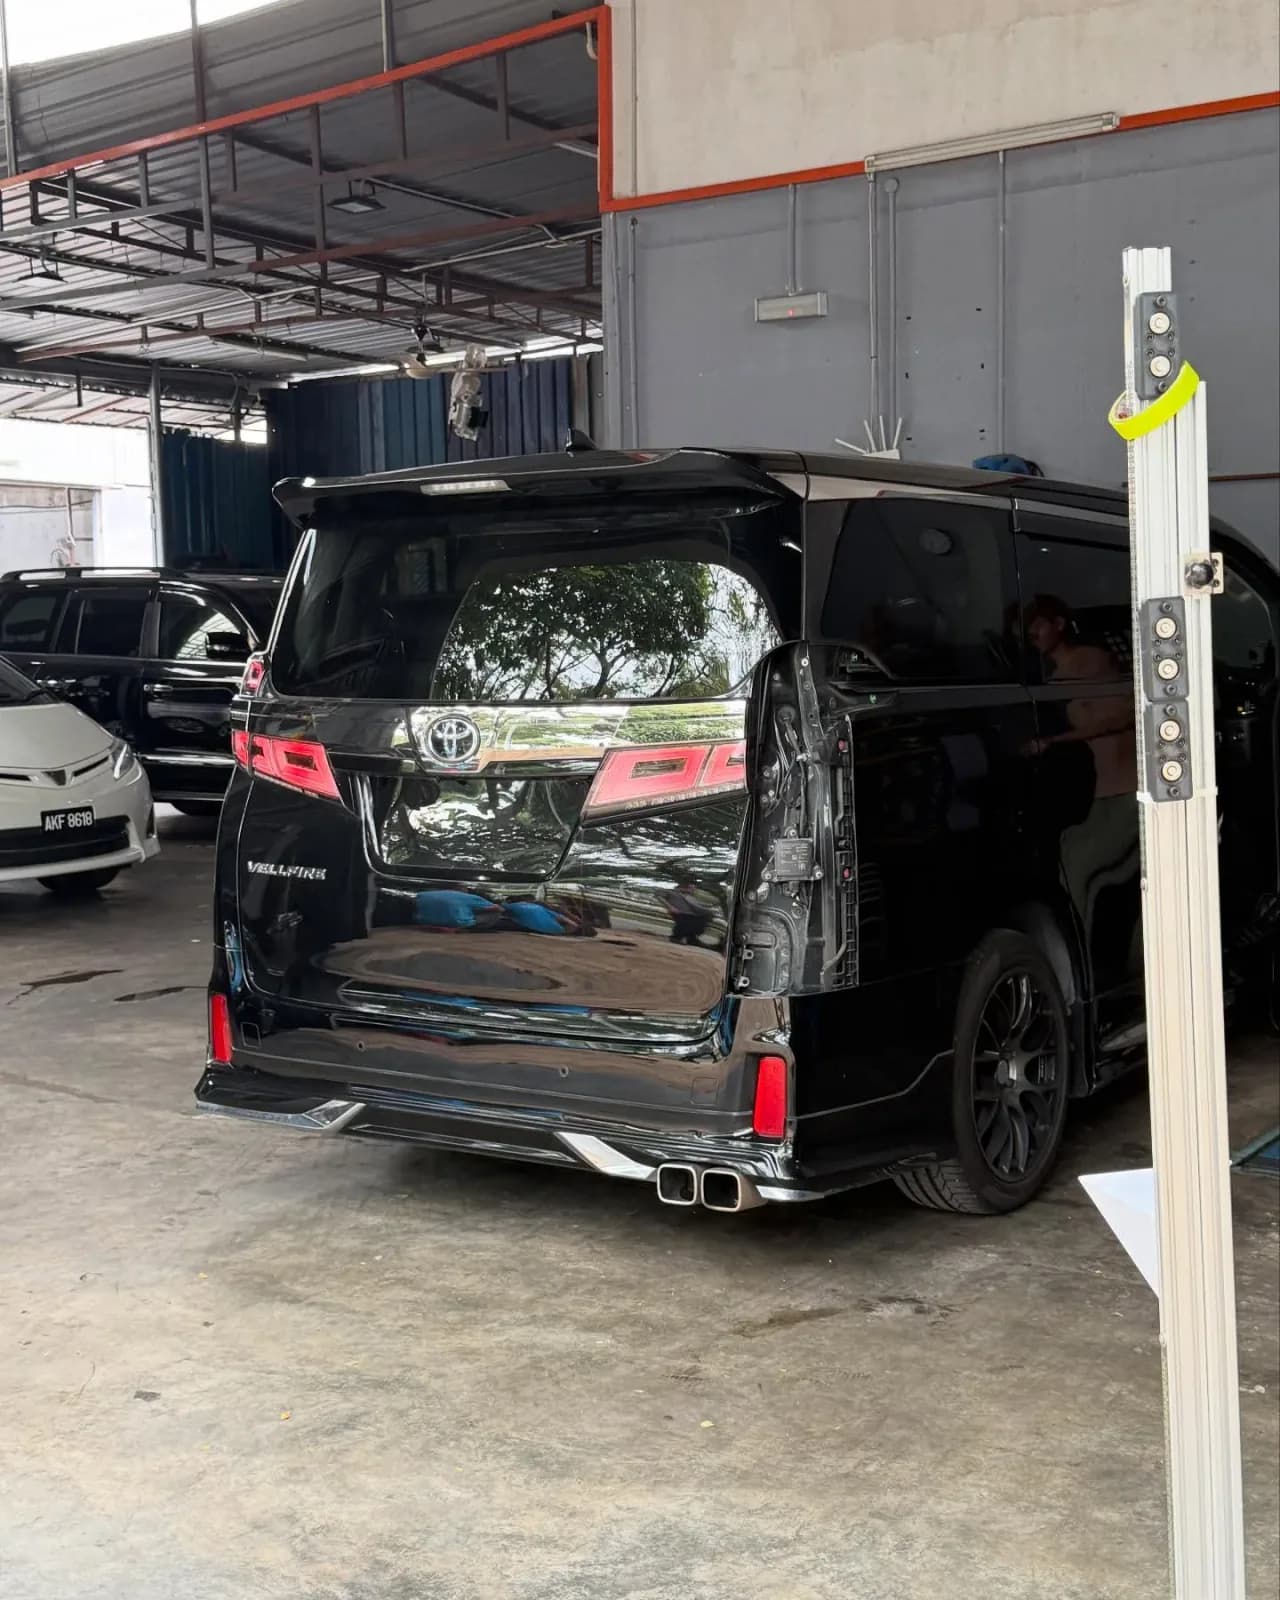
The distinction is visible in Sri Kuching’s records: the Alphard AGH30 and AGH40 jobs list front radar calibration without a radar replacement, while the Vellfire BSM job includes replacement of a faulty module and subsequent adjustment. Neither repair scope should be assumed from the dashboard warning alone.
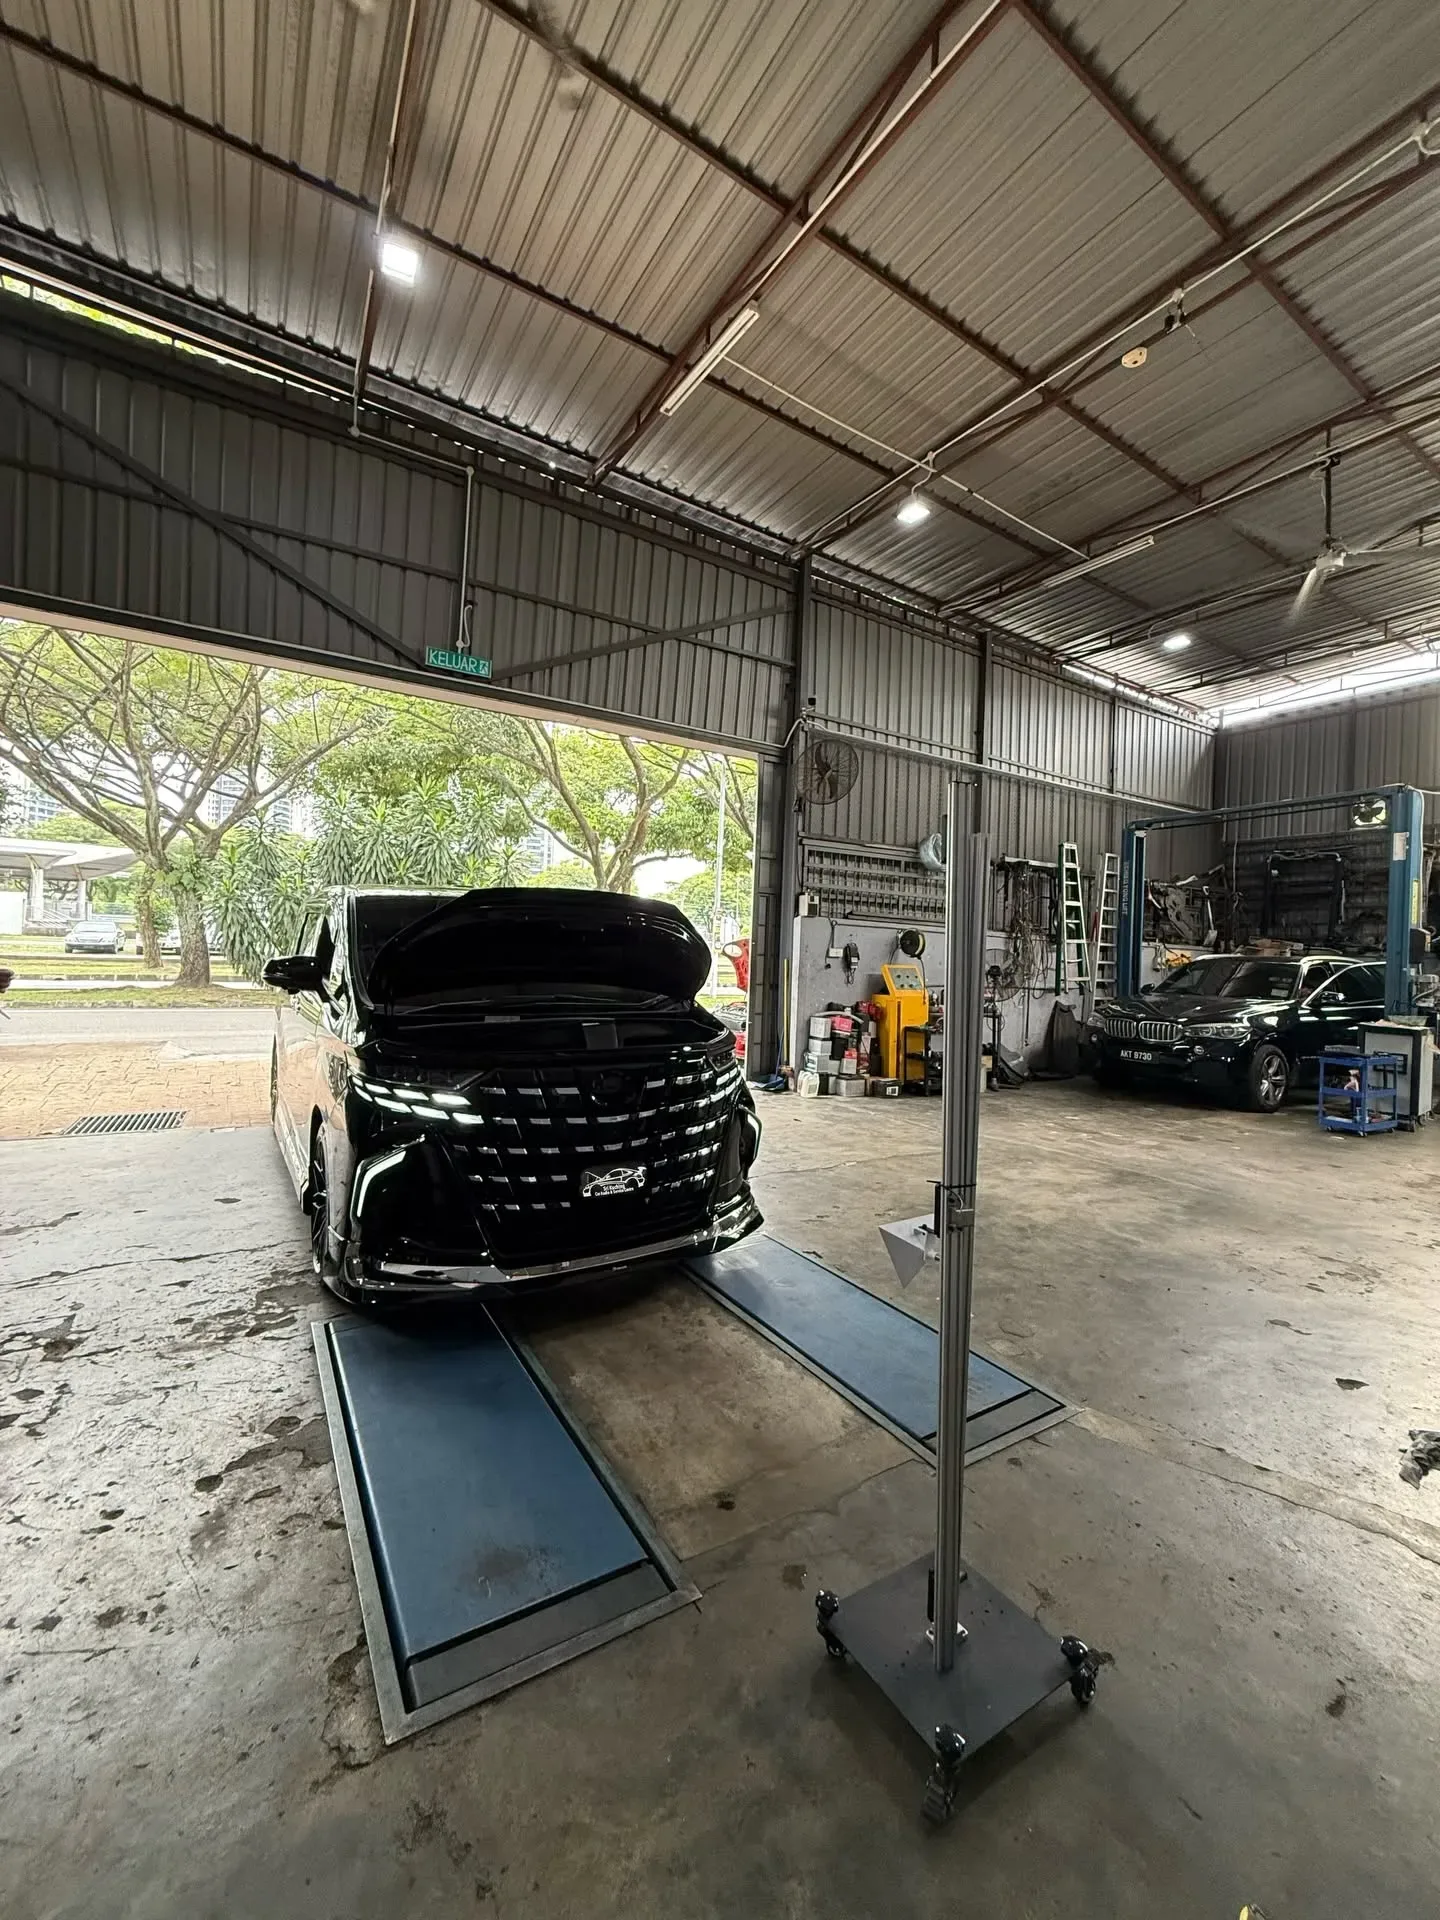
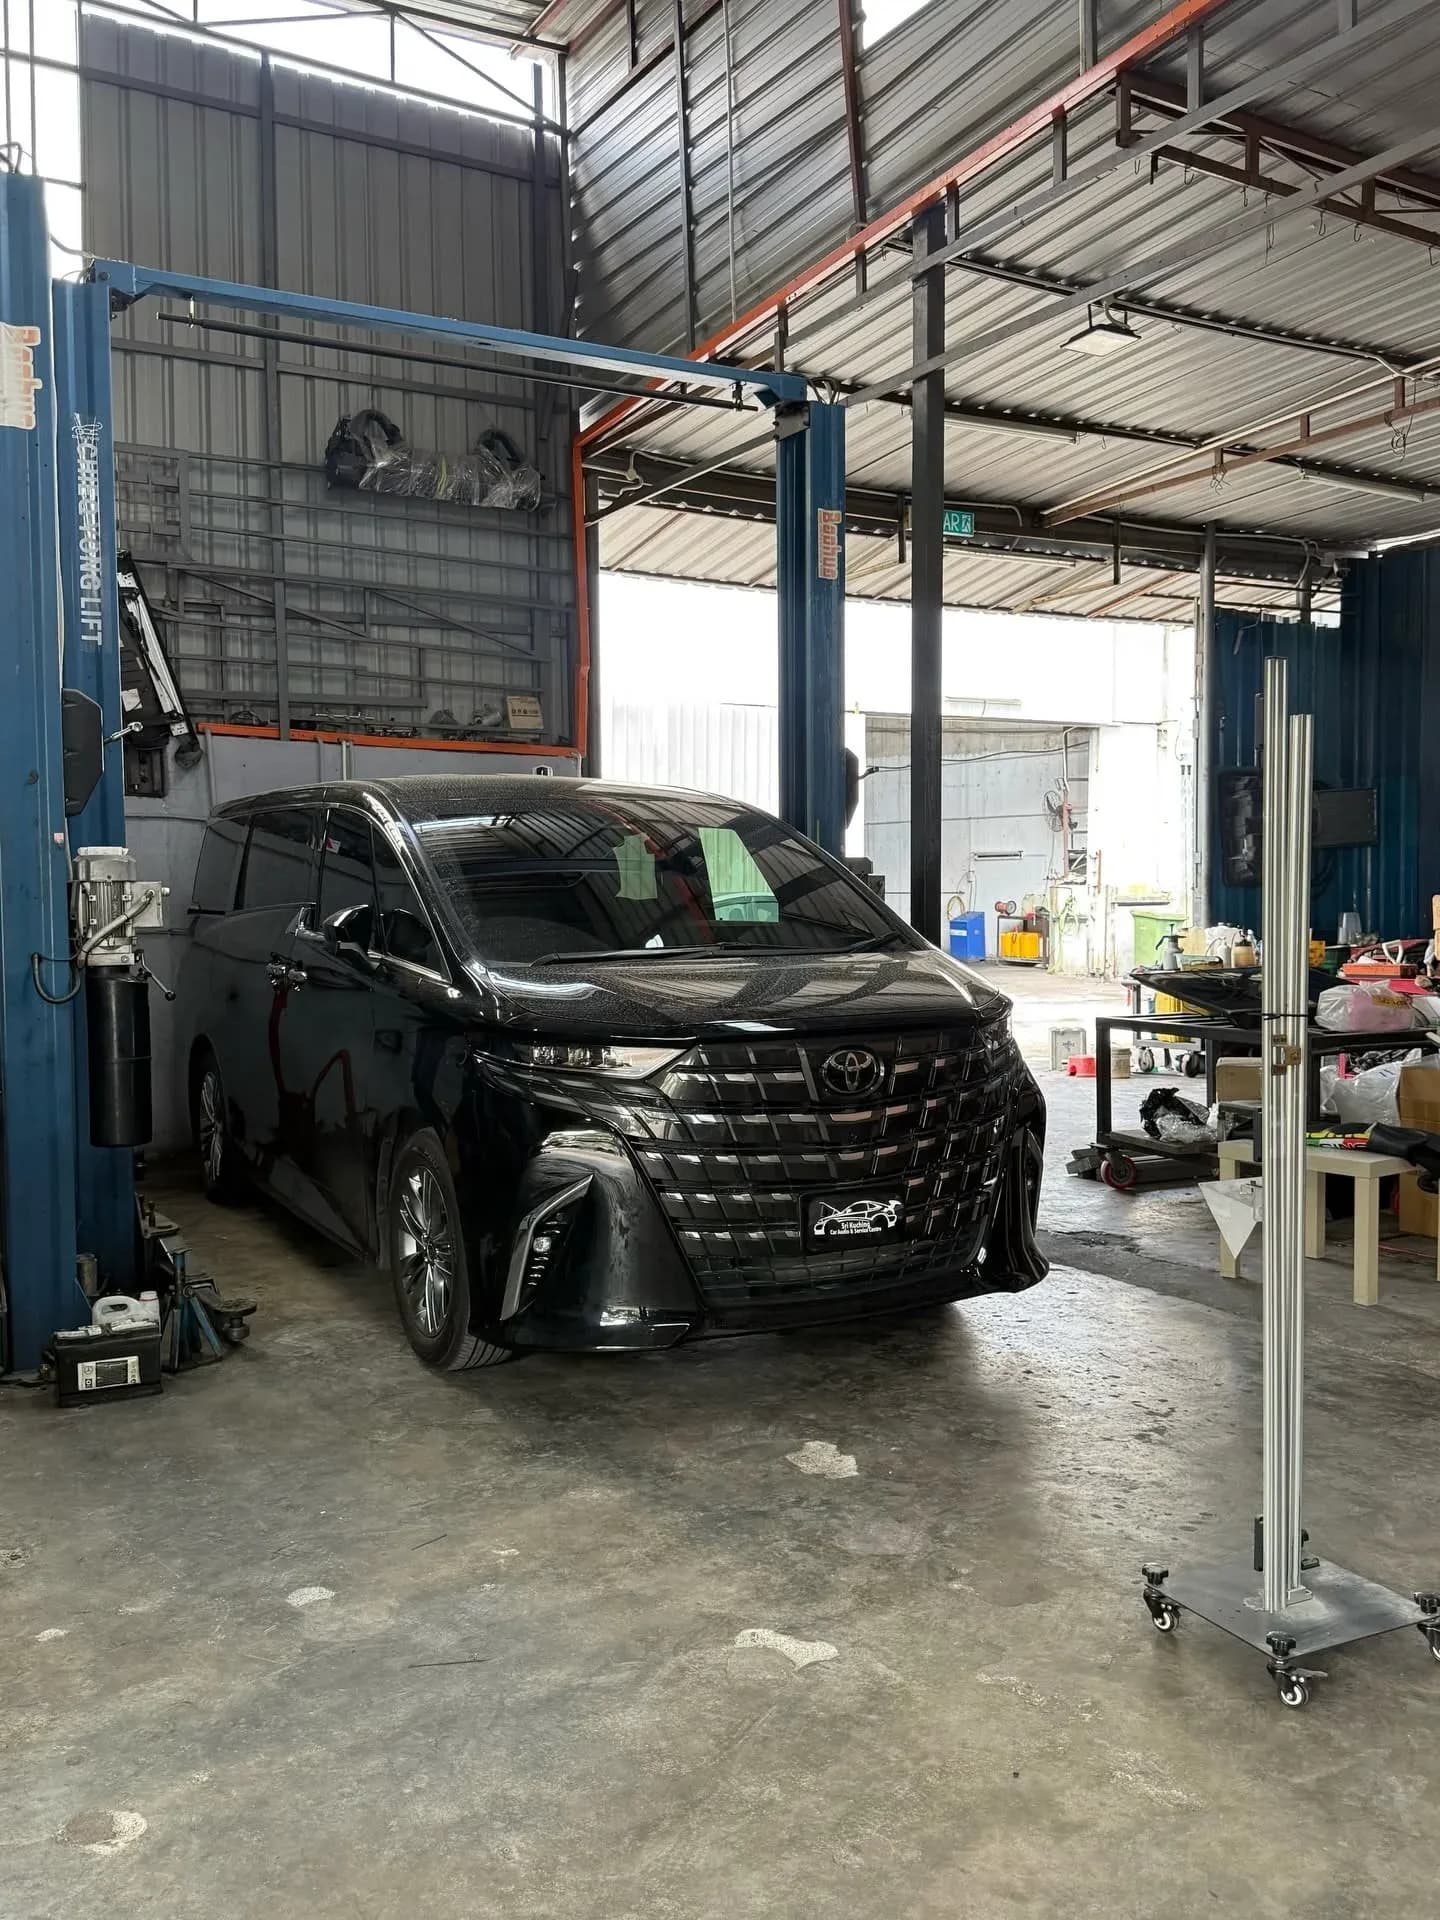
Front radar calibration setup from the Alphard AGH30 record. Equipment placement must follow the procedure for the specific vehicle.
View original case record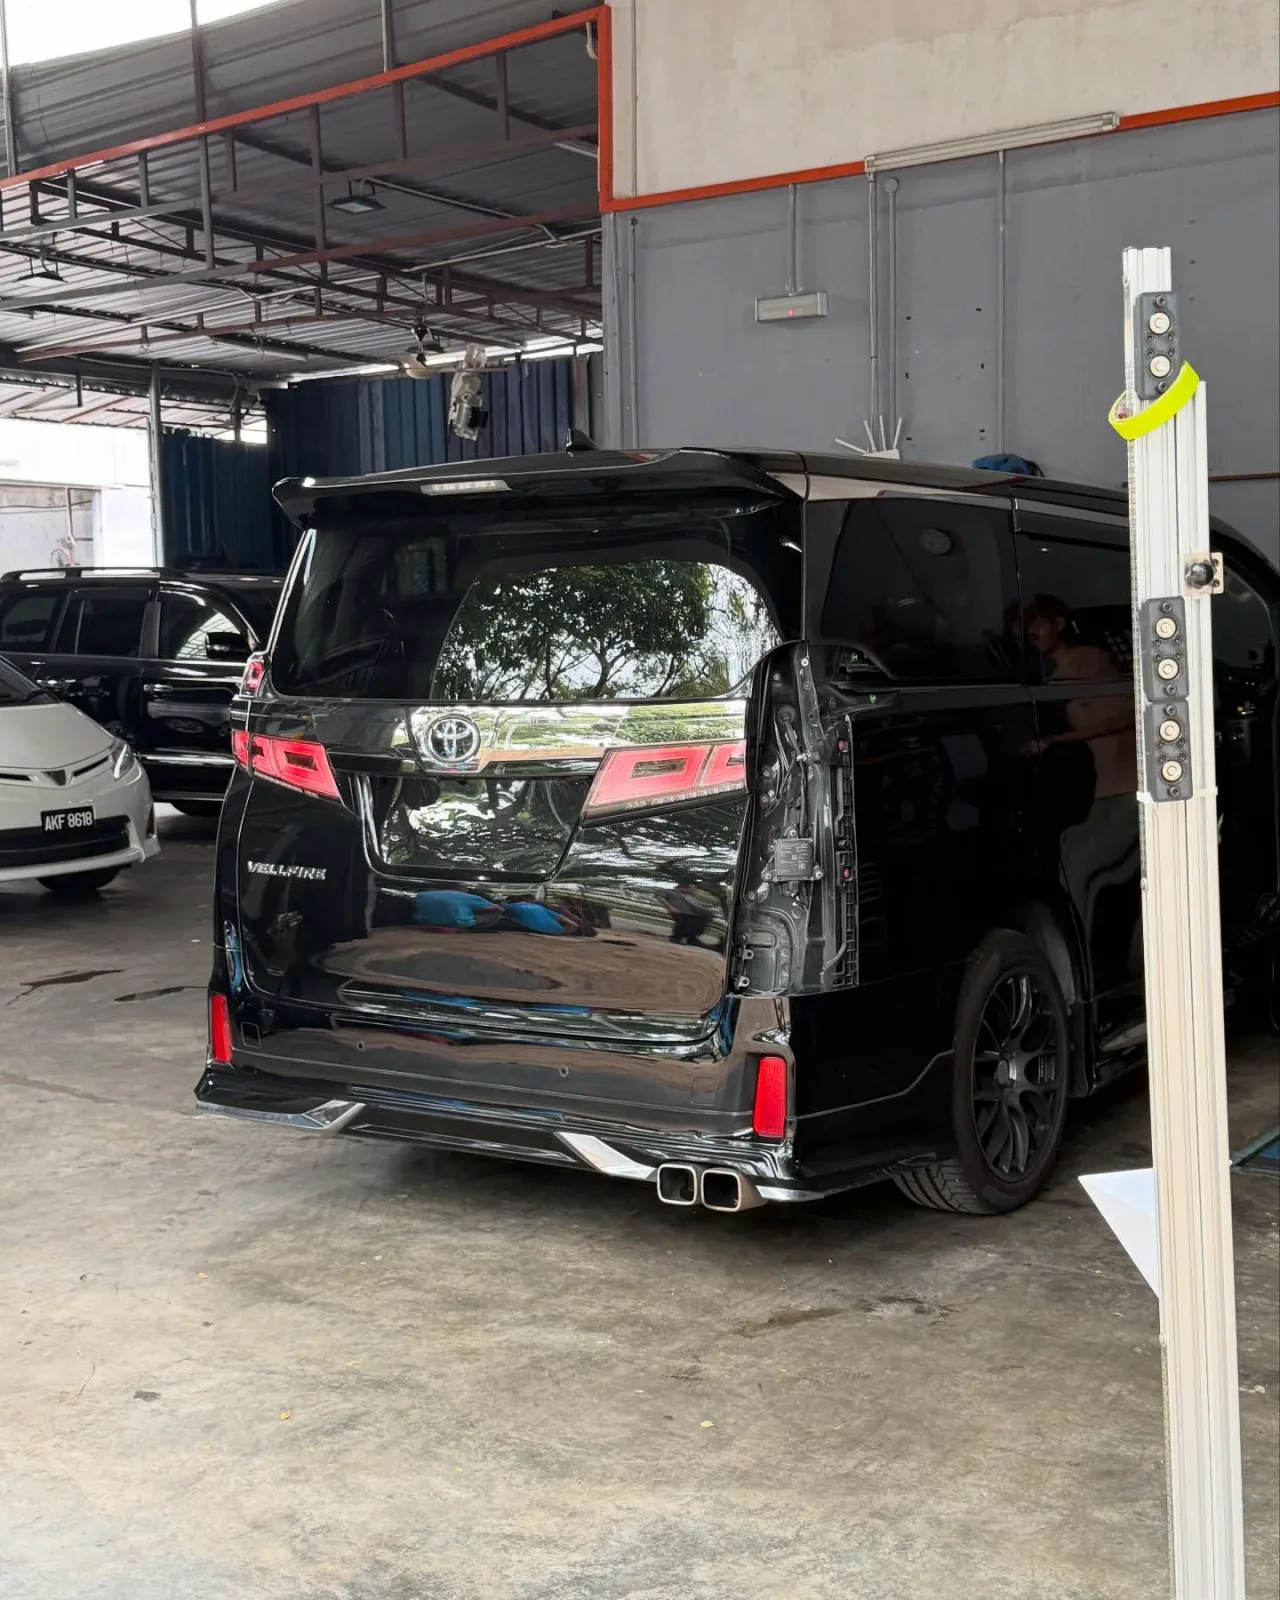
The Vellfire during its documented rear Blind Spot Monitor work, which included module replacement, calibration and horizontal beam-axis adjustment.
View original case recordClearing a code does not complete calibration
A diagnostic computer may clear a stored code even though the original cause remains. An incorrectly aimed sensor can generate a fault again when monitoring resumes, and a missing communication message can return until its electrical cause is repaired.
Driver-assistance systems support attentive driving; they do not replace it. If a warning identifies an unavailable or restricted function, do not rely on that assistance. Follow the vehicle manual’s warning instructions and seek advice about operating or transporting the vehicle where required.
ADAS calibration cost, timing and appointment preparation in KL
The price and time depend on the vehicle, affected sensor, supported method and diagnostic findings. A calibration-only job involves a different scope from wiring diagnosis, bracket correction or a BSM module replacement followed by calibration. Equipment requirements, parts availability and required driving conditions can also affect scheduling.
Sri Kuching in Taman Mastiara, Kuala Lumpur can discuss the work after reviewing your vehicle details and symptoms. No single price or duration covers every ADAS repair. Ask for the assessed scope and quotation, including any repair needed before aiming can proceed.
Before contacting the team, prepare the make, model, year, warning photos, available diagnostic report and details of recent bodywork, glass replacement or sensor repairs. For an imported vehicle or bumper conversion, explain the original vehicle specification and what has changed so compatibility can be checked.
Frequently asked questions
Is ADAS calibration the same as wheel alignment?
No. Wheel alignment corrects wheel geometry, while ADAS calibration establishes sensor aiming. Some manufacturer procedures require wheel geometry to be checked first, but completing one procedure does not automatically complete the other.
Can ADAS codes be cleared without calibration?
Some stored codes can be cleared, but deleting them does not complete a required aiming procedure or repair an electrical fault. Calibration is performed when the applicable diagnostic or repair procedure requires it, followed by verification.
How long does ADAS calibration take?
Timing depends on the vehicle, affected sensors, static or dynamic procedure and any underlying repair needed first. A diagnostic assessment is needed before confirming the scope and appointment duration.
How much does ADAS radar calibration cost in Kuala Lumpur?
The quotation depends on the model, sensor, diagnostic work and any additional parts or repairs. A calibration-only job and a module replacement with calibration have different scopes. Share your vehicle details and warnings with Sri Kuching for assessment.
Does no warning light mean calibration is unnecessary after repair?
No. Some repairs require calibration under the manufacturer’s instructions even without a dashboard warning. Check the exact vehicle and completed work rather than using the presence or absence of a warning as the only decision.
Read the original workshop cases
See the vehicle photos, recorded work and outcomes from Sri Kuching. These cases document individual repairs; your vehicle needs its own assessment.
Toyota Alphard AGH30 — Front Radar Sensor Calibration
View case and photo gallery →
Toyota Alphard AGH40 — Front Radar Sensor Calibration
View case and photo gallery →
Toyota Harrier — Front Radar & Blind Spot System Calibration
View case and photo gallery →
Toyota Vellfire — Blind Spot Monitor Calibration & Module Replacement
View case and photo gallery →
Continue reading
Compare Alphard AGH30 and AGH40 radar calibration, Vellfire C1AC1 BSM repair and Harrier front and rear radar work, with Sri Kuching workshop photos.
Understand 11 Toyota ADAS fault codes, including C1AC1, U023387, U111087 and C1AA800, and how alignment faults differ from communication problems.
Compare radar, windscreen cameras and BSM systems across Toyota, Honda, Audi, BMW and Porsche, including model-specific calibration enquiry details in KL.
Further technical reading
Technical information from vehicle manufacturers and specialist suppliers.