
Quick answer
Does wheel diameter confirm whether a big brake kit will fit?
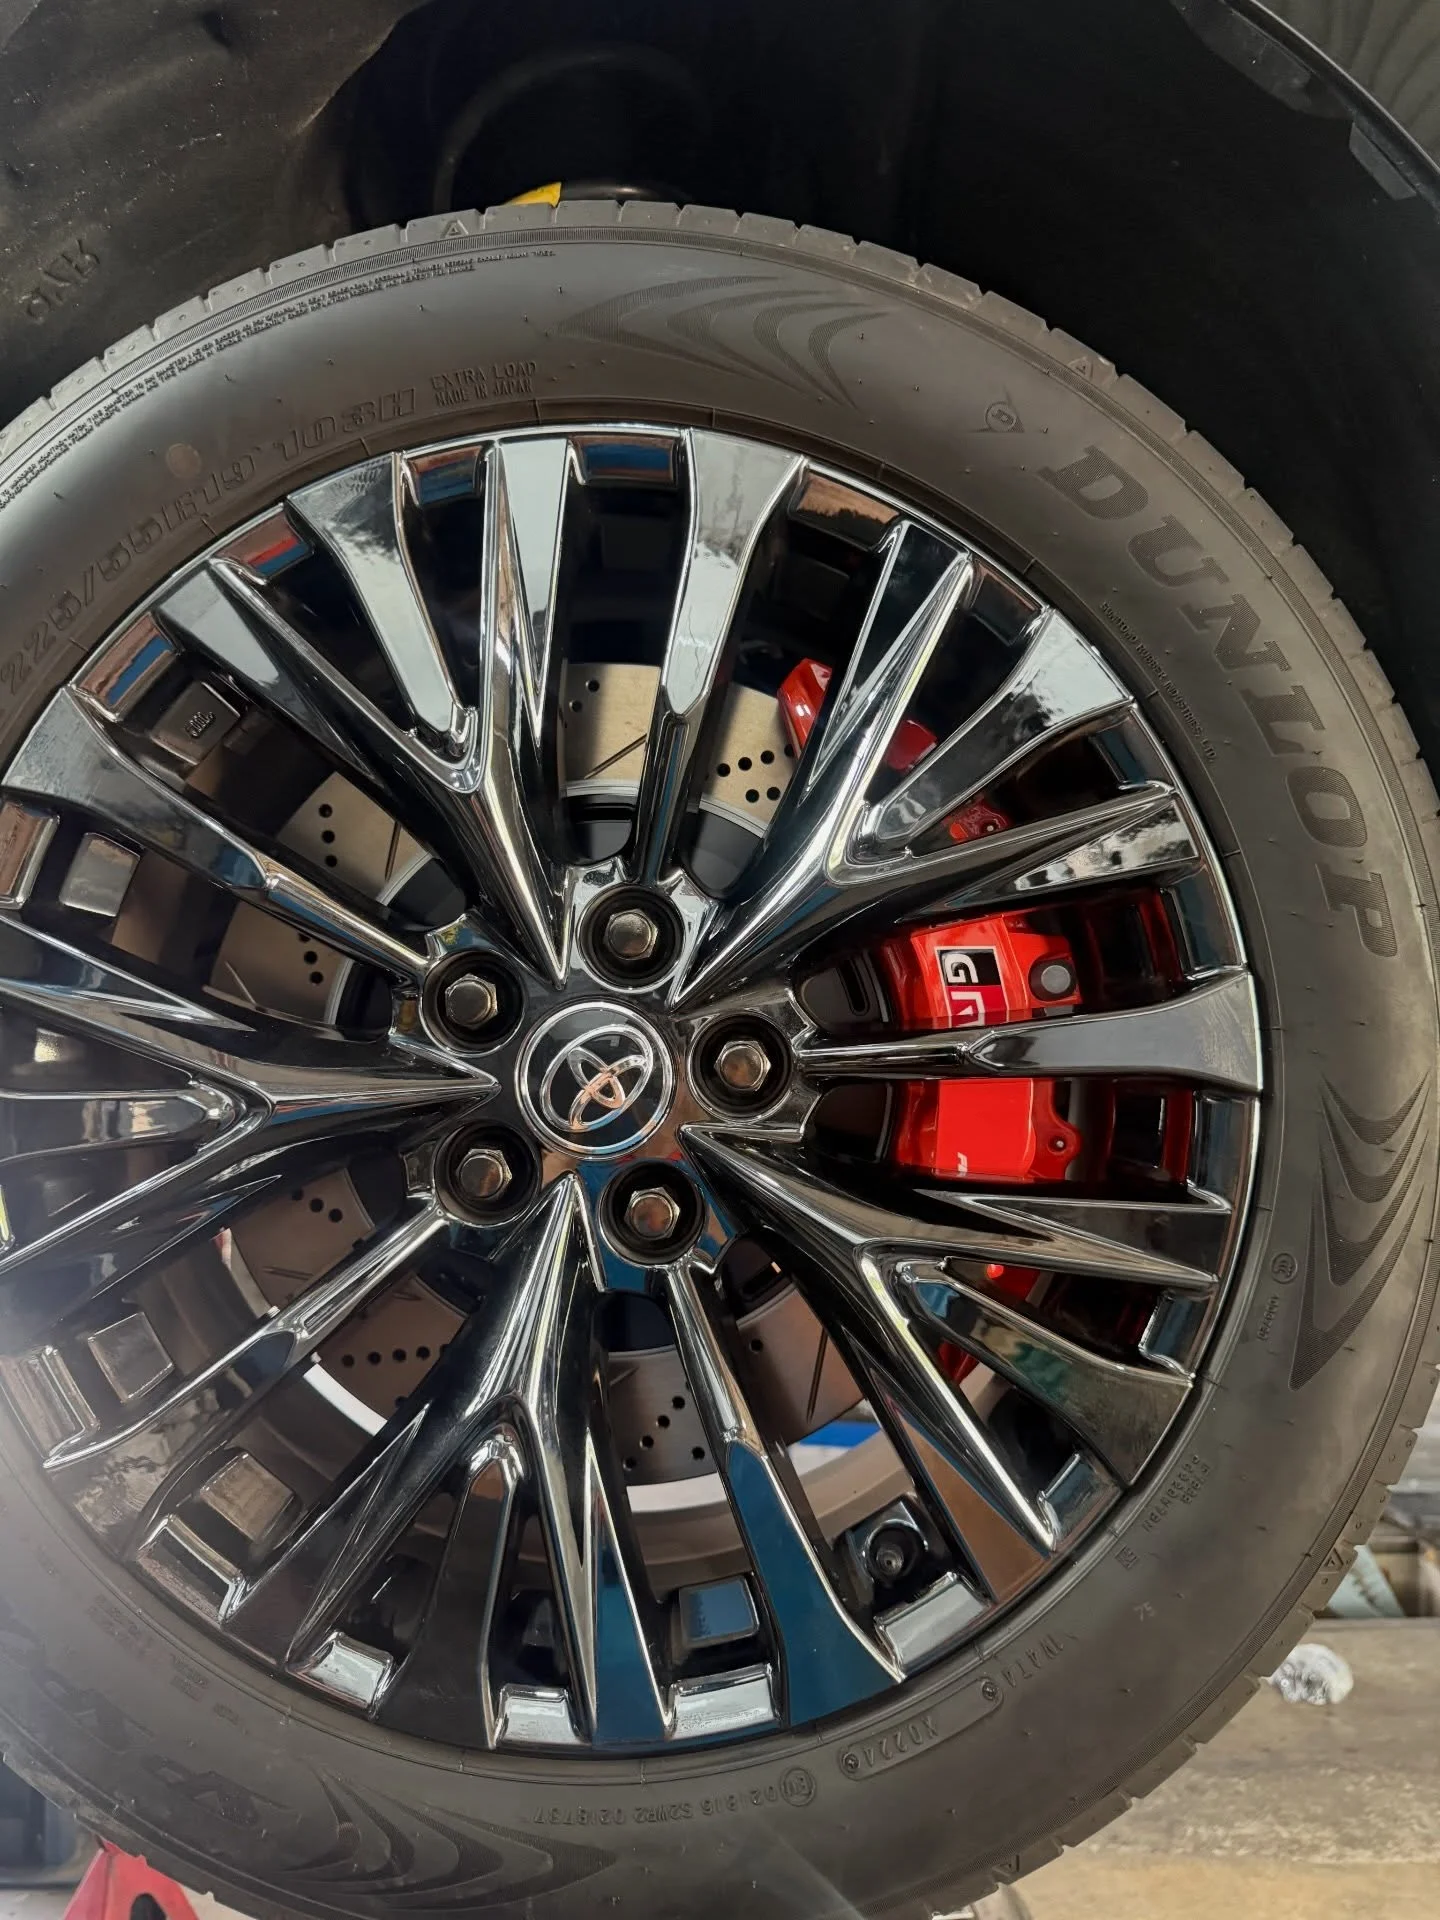
No. Two wheels with the same diameter can have different barrel profiles and spoke clearance. The actual caliper and rotor assembly must be checked against the wheel model, width, offset and manufacturer’s fitment template or dimensions. A 17- or 18-inch label alone cannot confirm compatibility.
Check wheel barrel clearance and spoke clearance separately
A larger rotor needs room inside the wheel, and the caliper projects beyond the rotor’s edge. This radial clearance depends on the complete assembly and the shape of the wheel barrel. The nominal wheel diameter does not describe every internal contour or obstruction.
Axial clearance concerns the gap between the caliper and the inside face of the spokes. A wheel can have sufficient barrel room but still contact a wide fixed caliper. Wheel width, offset and spoke shape must be considered together; matching diameter and ET numbers does not make two different wheel designs equivalent.
Wheel offset, usually marked ET, describes the relationship between the mounting face and wheel centreline. It affects the wheel’s position, but spoke geometry remains important. Brake clearance should also account for balance weights and the manufacturer’s required allowances, not just whether a stationary wheel can be bolted on.
Radial clearance: inside the barrel
The complete caliper and disc assembly needs room inside the wheel barrel. The wheel’s quoted diameter alone cannot confirm this clearance.
Axial clearance: behind the spokes
The caliper also needs space behind the spokes. Wheel width, offset and spoke shape must be assessed with the actual brake-kit profile.
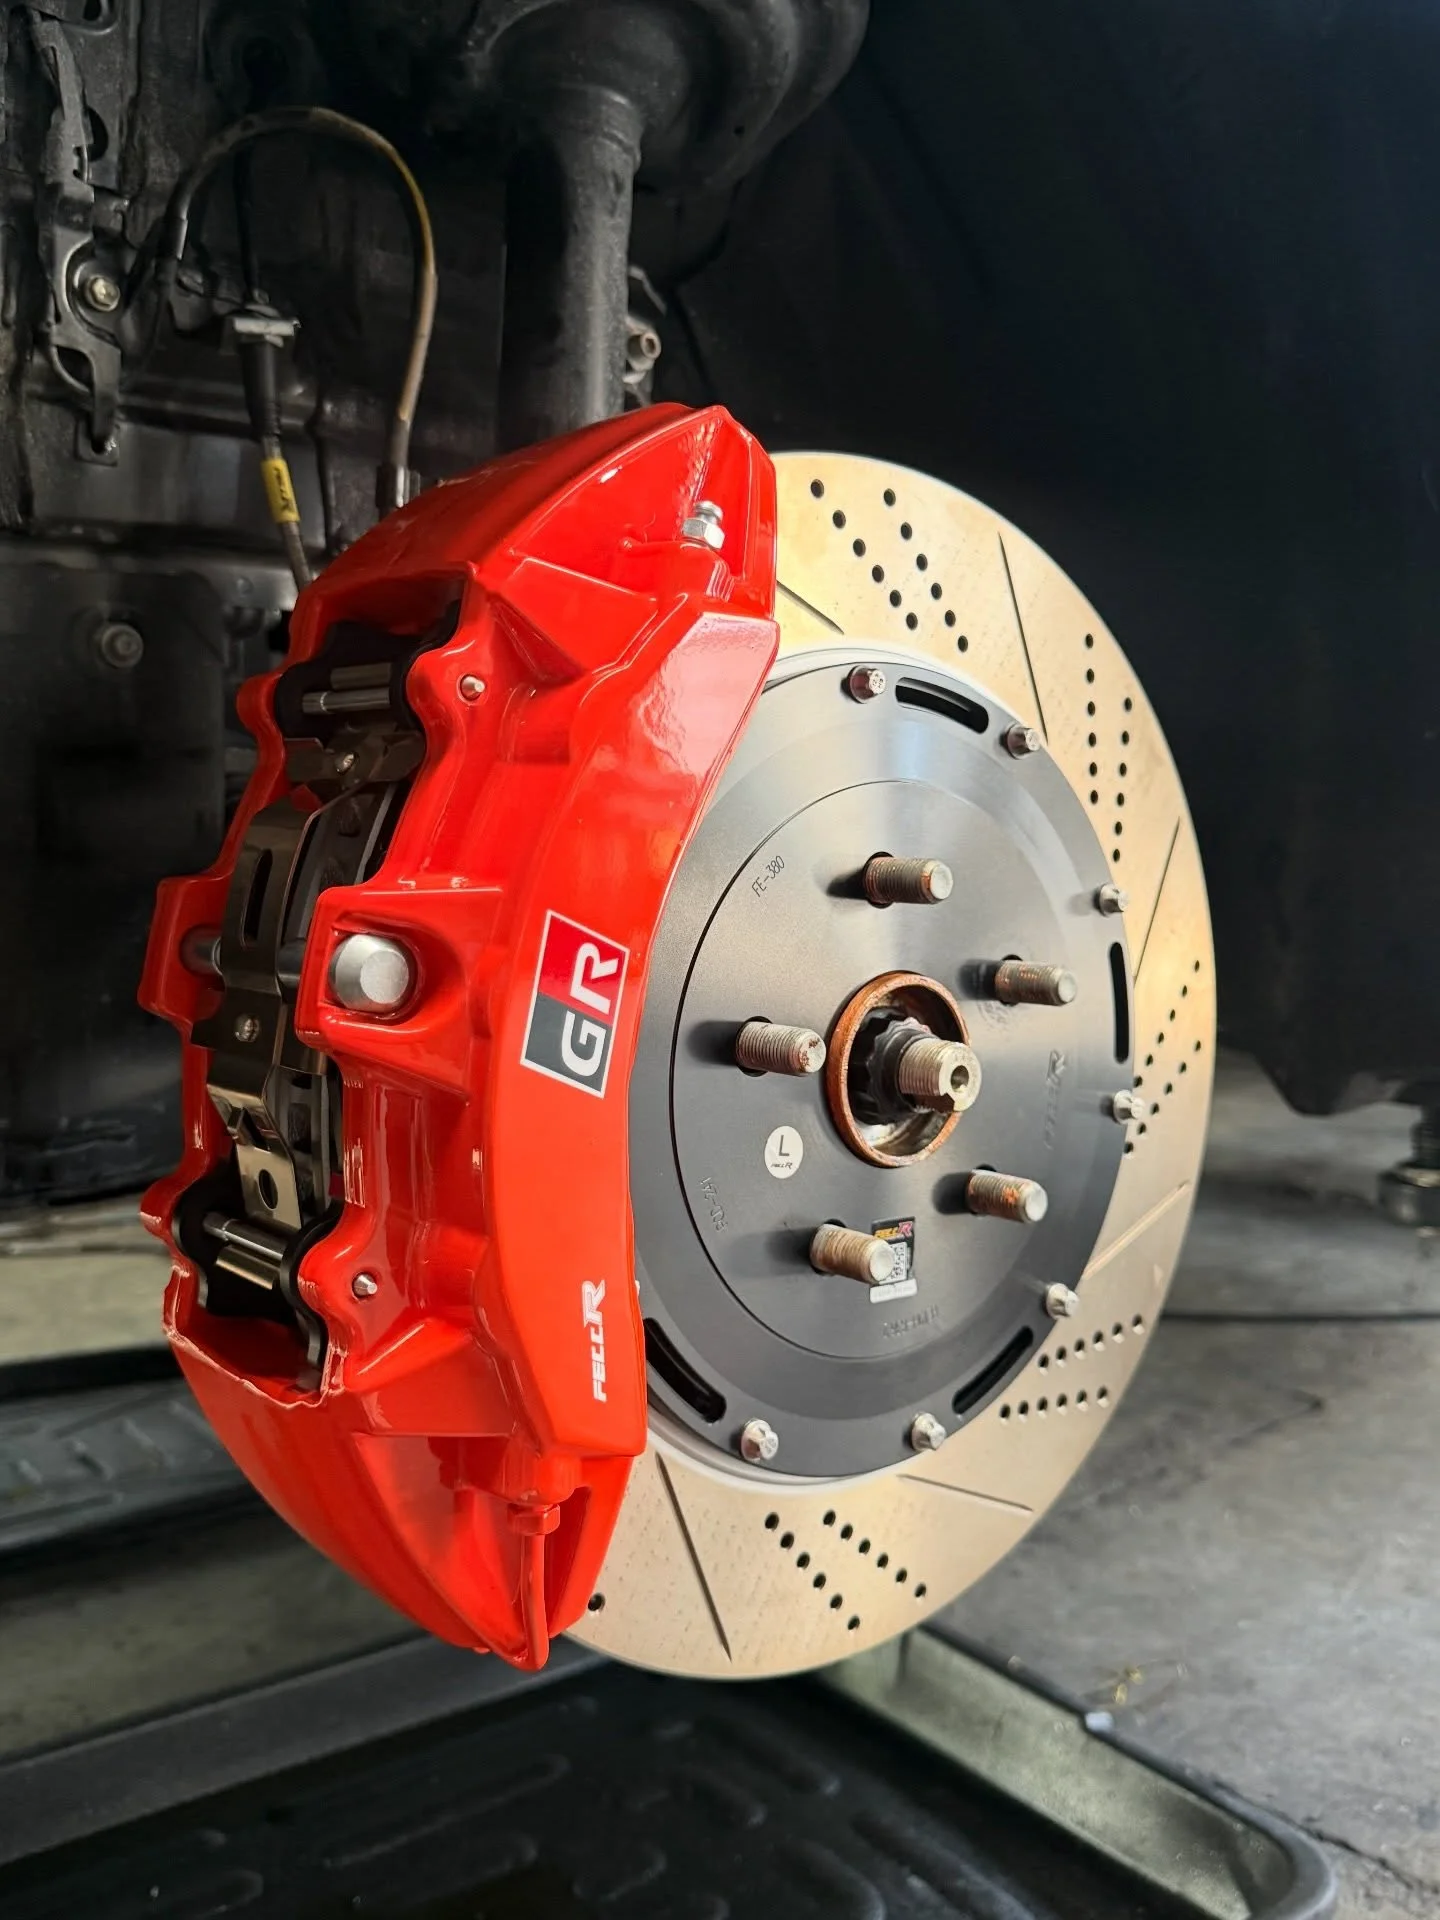
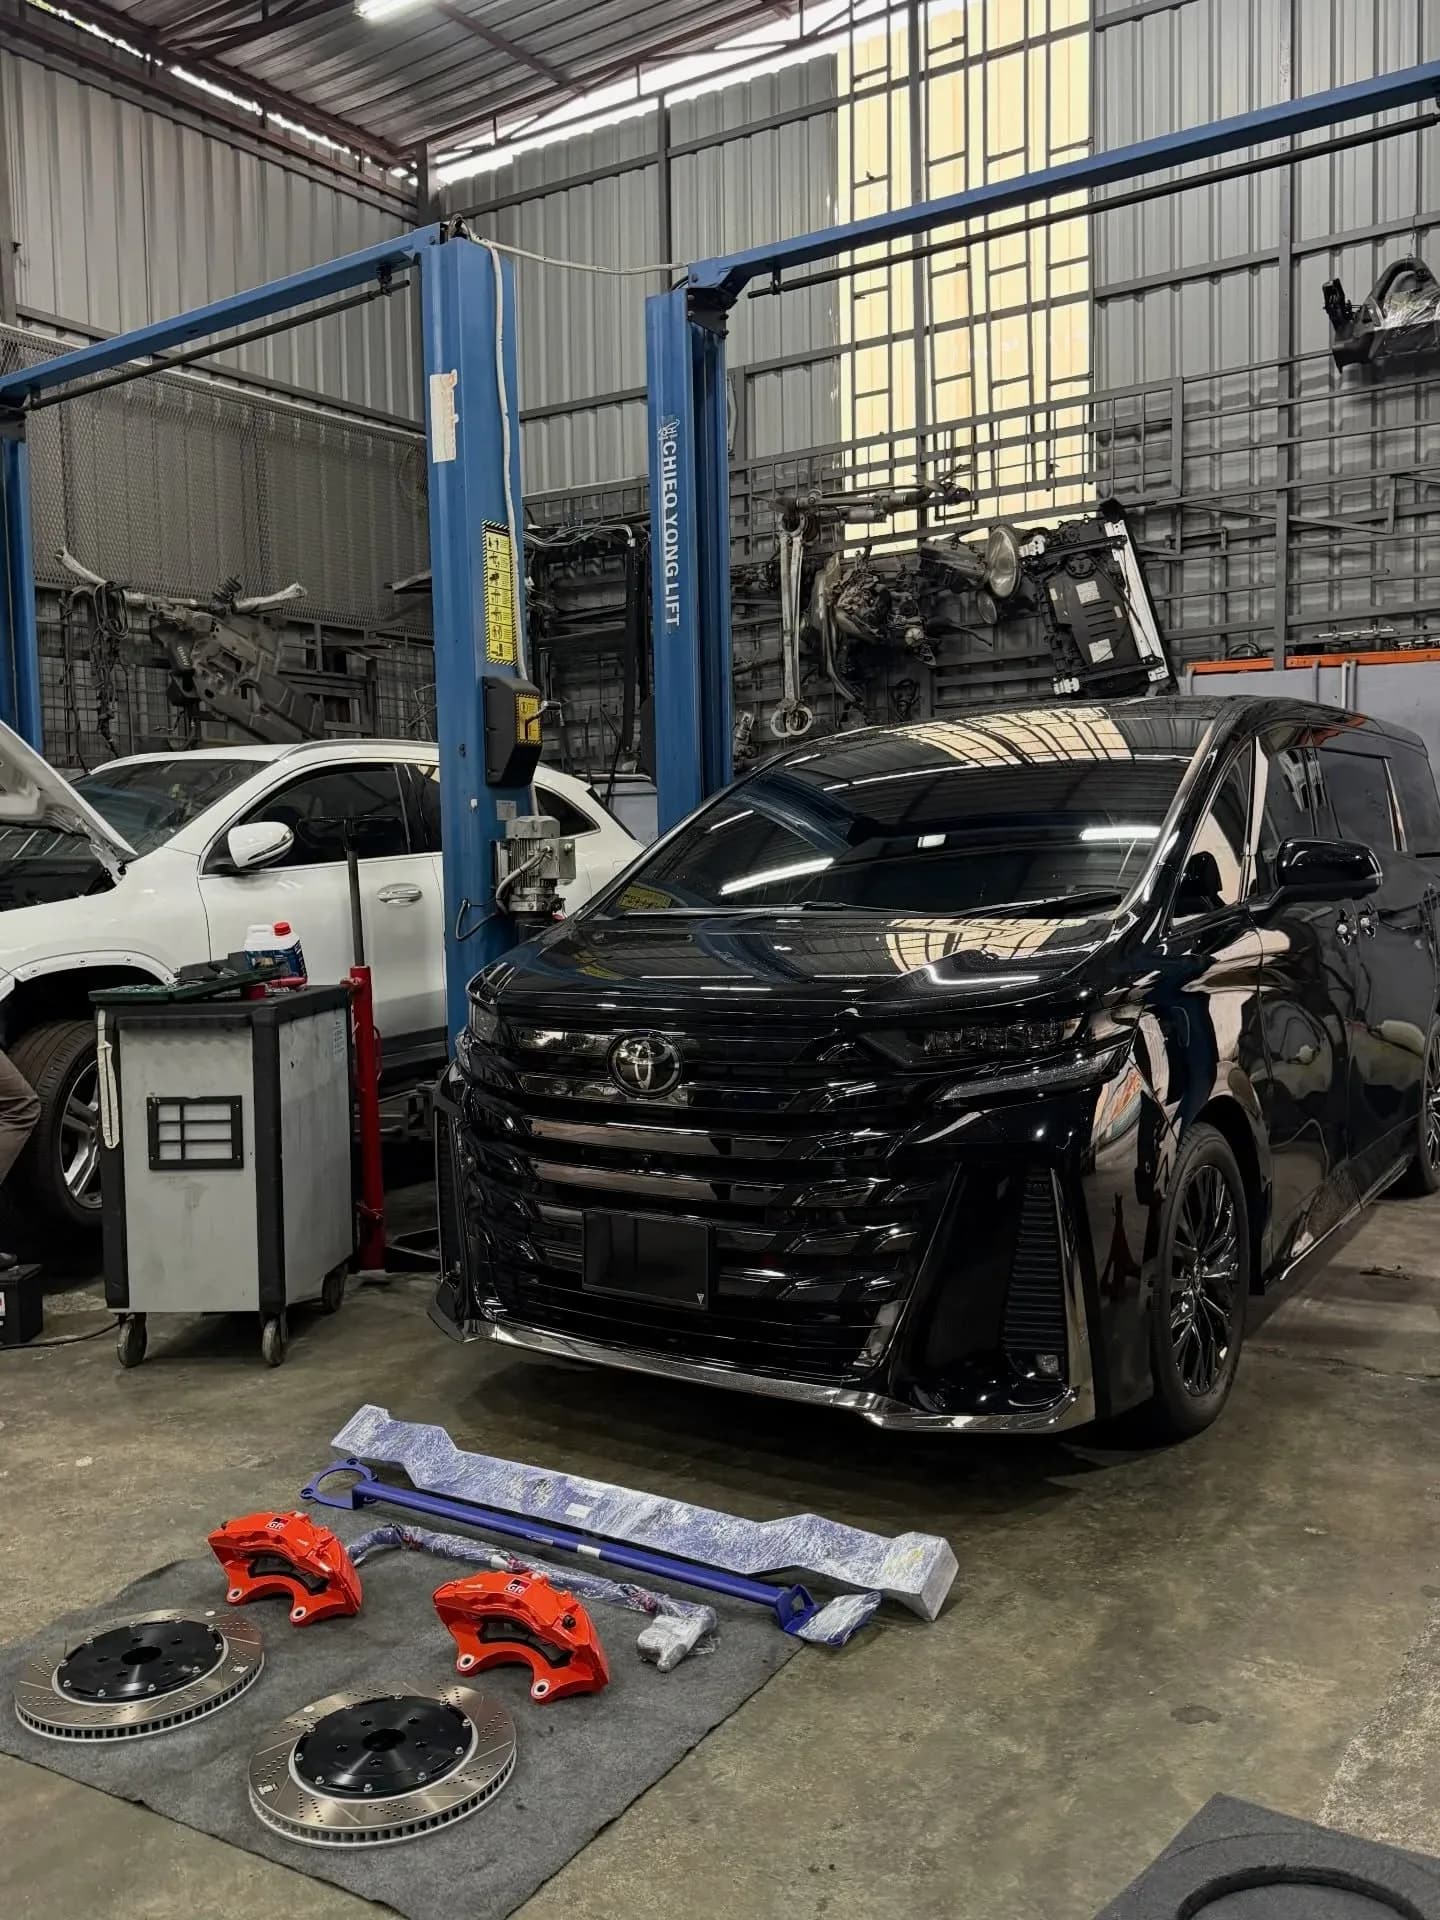
Installed caliper and disc in the Vellfire AGH40 record. The documented work includes a direct bolt-on FECCR 6-piston upgrade and subsequent bedding-in and braking validation.
View original case record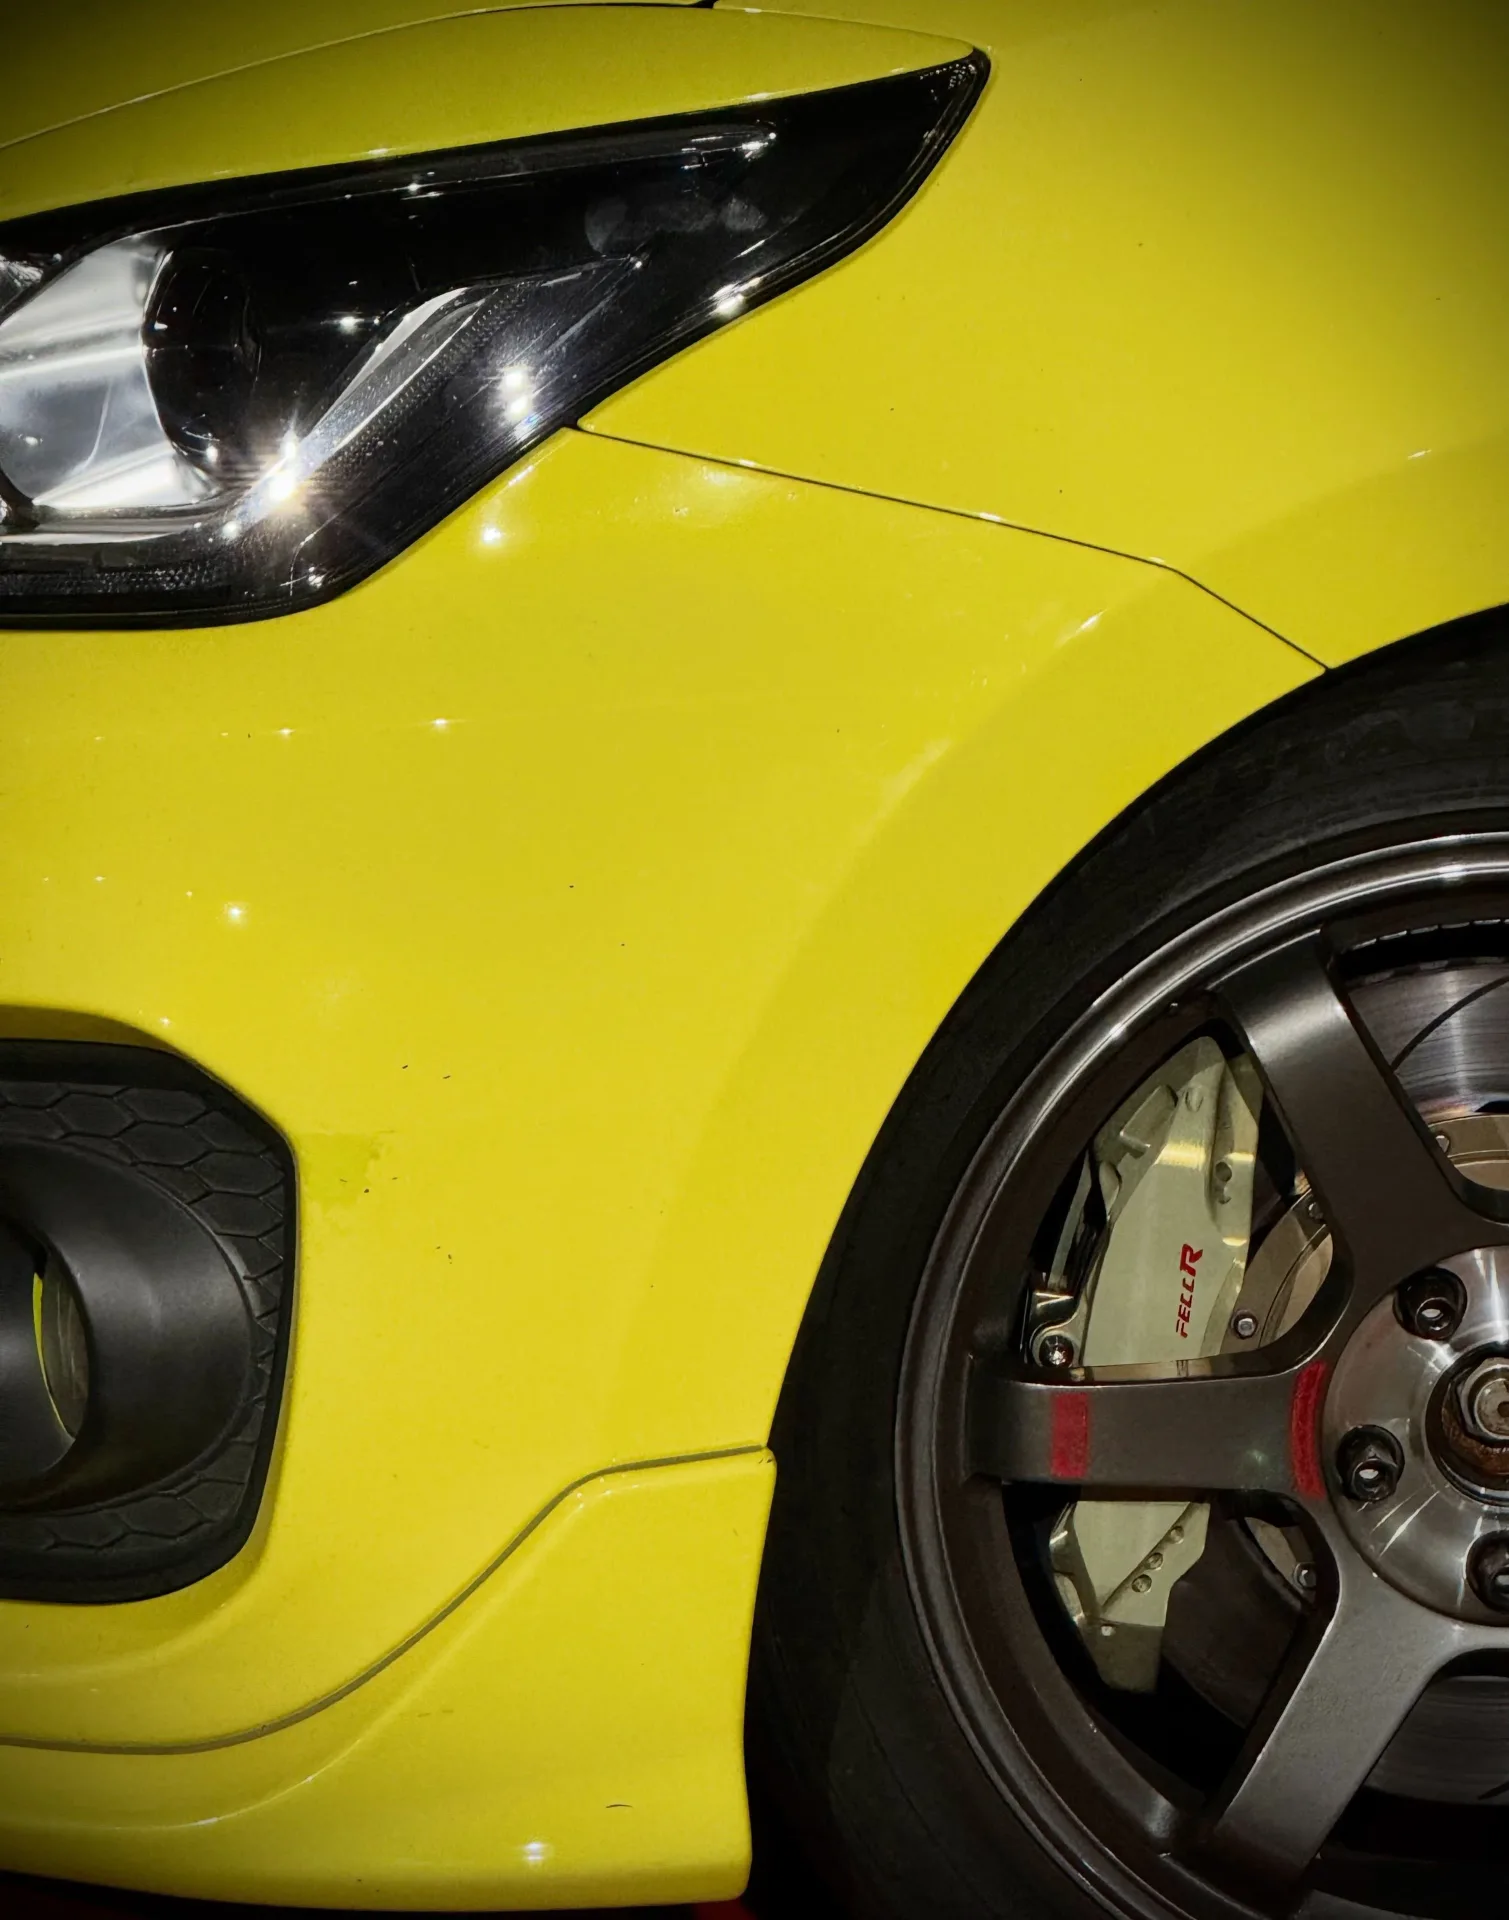
The Swift Sport front wheel with the upgraded caliper visible behind the spokes. Wheel diameter alone does not describe the spoke profile or clearance around the caliper.
View original case recordUse the exact brake kit template and the actual wheel
A manufacturer’s template or dimensional drawing represents a particular caliper, rotor and mounting combination. The workshop checks it against the actual wheel to assess radial and axial clearance. Where a printable template is supplied, its scale and reference dimensions must be verified according to the manufacturer’s instructions.
A physical test fit may also be needed. The installed assembly must meet the specified clearance, tolerances and mounting requirements. There is no universal rule that every 17-inch wheel fits four pistons or every 18-inch wheel fits six. Caliper shape and rotor dimensions matter as much as the piston count.
Clearance measurements published for another brand or kit should not be copied onto a FECCR installation. Obtain the specification for the proposed package and current wheel design before committing to parts.
Do not treat spacers or grinding as an automatic clearance solution
A spacer moves the wheel relative to the hub and may change spoke clearance, but it also changes wheel fitment and fastening requirements. Tyre-to-body clearance, suspension geometry and the wheel’s mounting arrangement need consideration. It does not create extra barrel diameter for a rotor and caliper that are too large.
AP Racing’s published guidance rejects spacers or material removal as a way to make its incompatible wheel-and-brake combinations fit. For any proposed kit, follow the relevant manufacturer’s requirements and assess the complete wheel installation. Grinding a caliper or wheel to create a gap is not a general fitment remedy.
Resolve incompatibility by selecting an appropriate wheel-and-brake combination before installation. Buying a kit first and assuming the workshop can make it fit can lead to extra cost or parts that cannot be used on the current wheels.
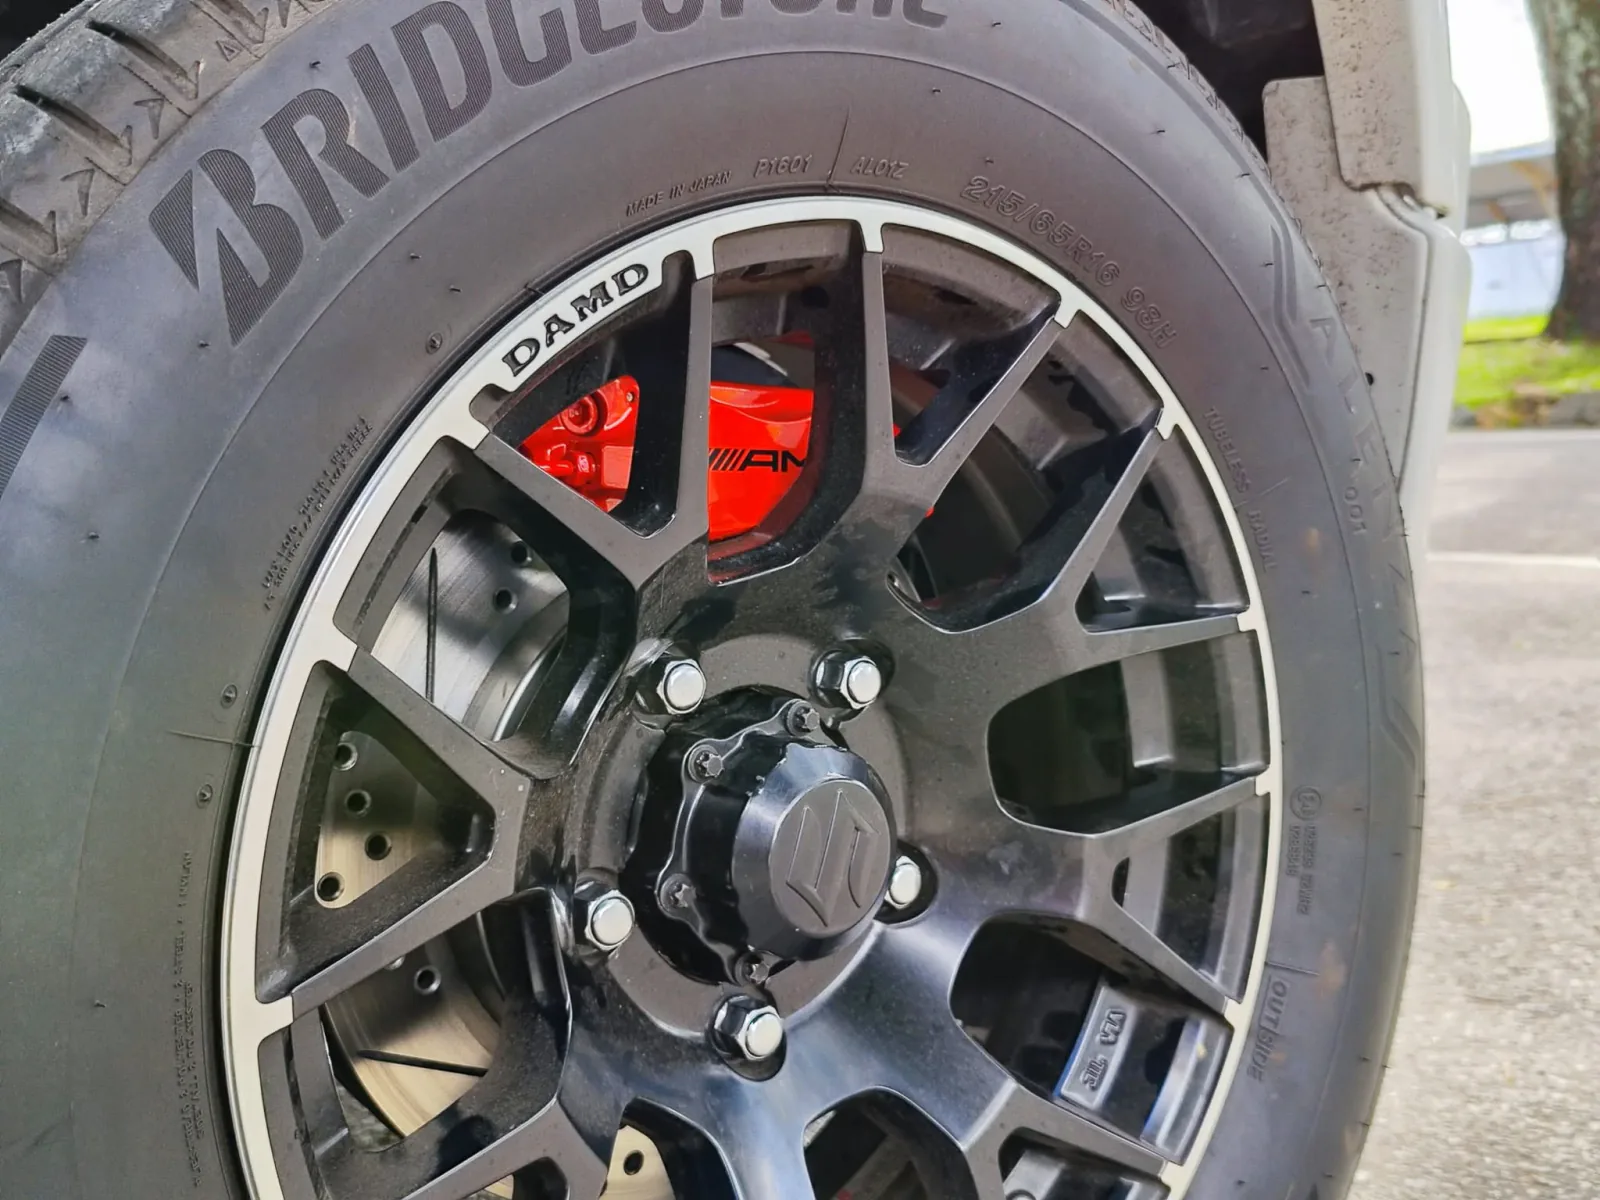
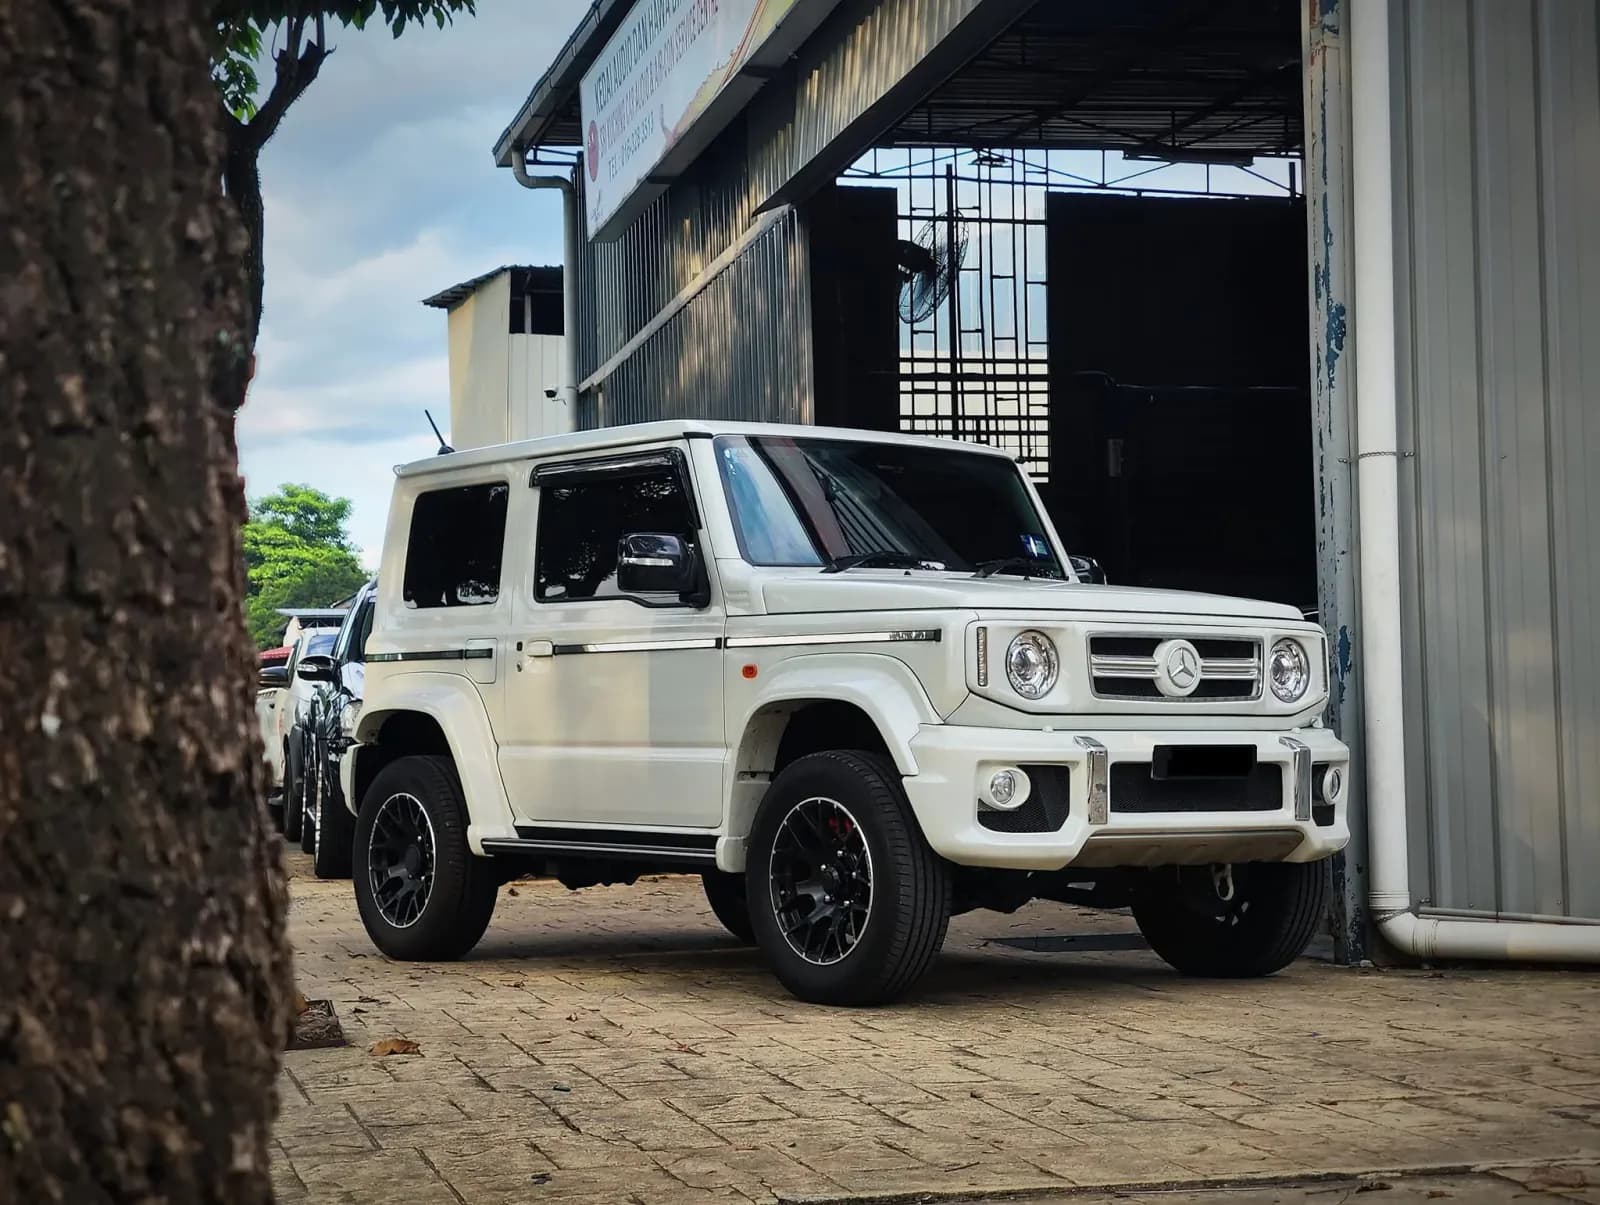
The Jimny wheel fitted around the brake upgrade. Wheel barrel and spoke clearance must be confirmed for the particular wheel and brake kit combination.
View original case recordWhat wheel information should you send to Sri Kuching?
For a brake upgrade enquiry in Taman Mastiara, Kuala Lumpur, send the vehicle make, model and year alongside the specification of the wheels currently fitted. Original factory wheel information is not enough if the wheels have been changed.
- Wheel diameter, width, offset and exact wheel brand or model, if known.
- Whether the wheels are original or aftermarket, and whether spacers are already fitted.
- Current tyre size, suspension modifications and any existing brake changes.
- Clear photographs of the complete wheel, spokes, visible brakes and available wheel markings.
- Your intended use and the brake kit or caliper model you are considering.
Eight professional checks from assessment to handover
Fitment includes more than wheel clearance. The following outline explains the workshop assessment and installation sequence; the exact technical procedures come from the vehicle and brake kit manufacturers.
1. Understand the owner’s requirements
Establish daily, highway, loaded, off-road or track use, along with comfort and appearance priorities. The proposed package should address those needs rather than start with the largest available caliper.
2. Inspect the existing brakes
Check calipers, discs, pads, hoses and hydraulic components. Excessive pedal travel, leaks, pulling, vibration and unusual noise need diagnosis. Fitting aftermarket parts should not conceal an unresolved braking fault.
3. Confirm wheel and mounting fitment
Check barrel and spoke clearance, rotor position, mounting hardware and the intended hub arrangement. Review hose routing and other possible interference using the actual wheels and specified kit dimensions.
4. Match calipers, rotors and pads
Confirm that the components form a compatible package for the vehicle’s hydraulic system, brake balance and relevant ABS or stability-control requirements. Verify parking-brake arrangements where rear components are involved.
5. Confirm fluid and supporting parts
Identify the specified fluid, compatible hoses, brackets and hardware. Reuse an existing component only where its condition and the installation requirements allow it.
6. Install, bleed and inspect
Follow the kit instructions and applicable vehicle procedures. Bleed the hydraulic system correctly, including diagnostic functions where required. Check for leaks and interference throughout relevant steering and suspension movement.
7. Complete the specified bedding-in
Use the instructions for the actual pads, discs and kit in suitable controlled conditions. Different compounds can require different preparation; a generic series of hard stops is not an appropriate substitute.
8. Verify operation and explain maintenance
Check pedal response, hydraulic integrity, clearance and relevant braking functions. Complete the required verification, including a controlled road test when safe and appropriate. Explain bedding restrictions, inspection needs and any special use or maintenance requirements to the owner.
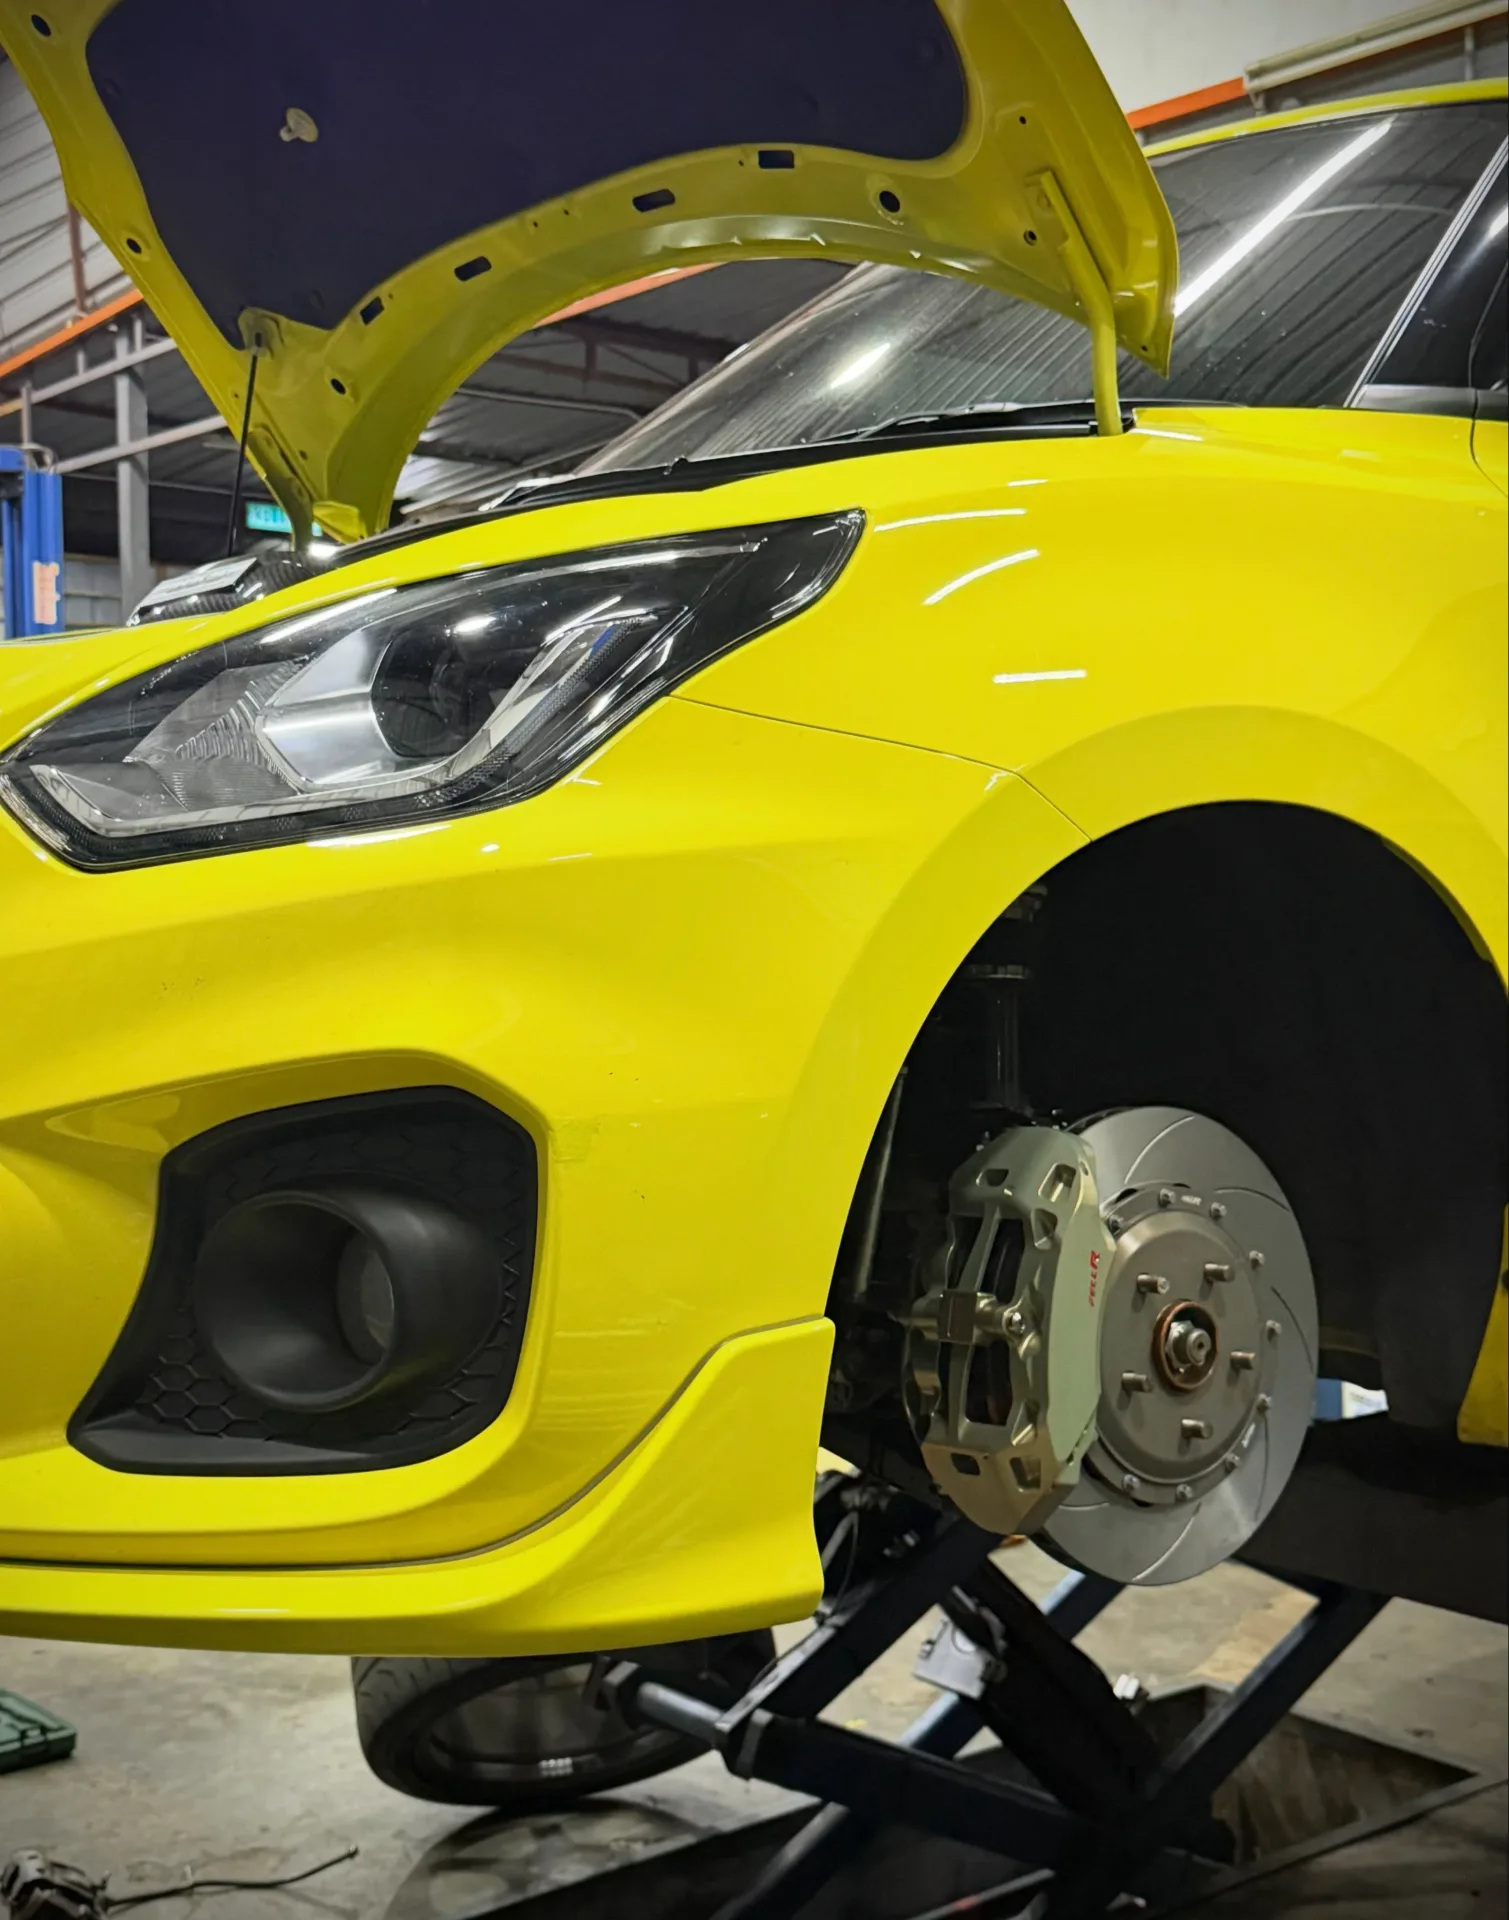
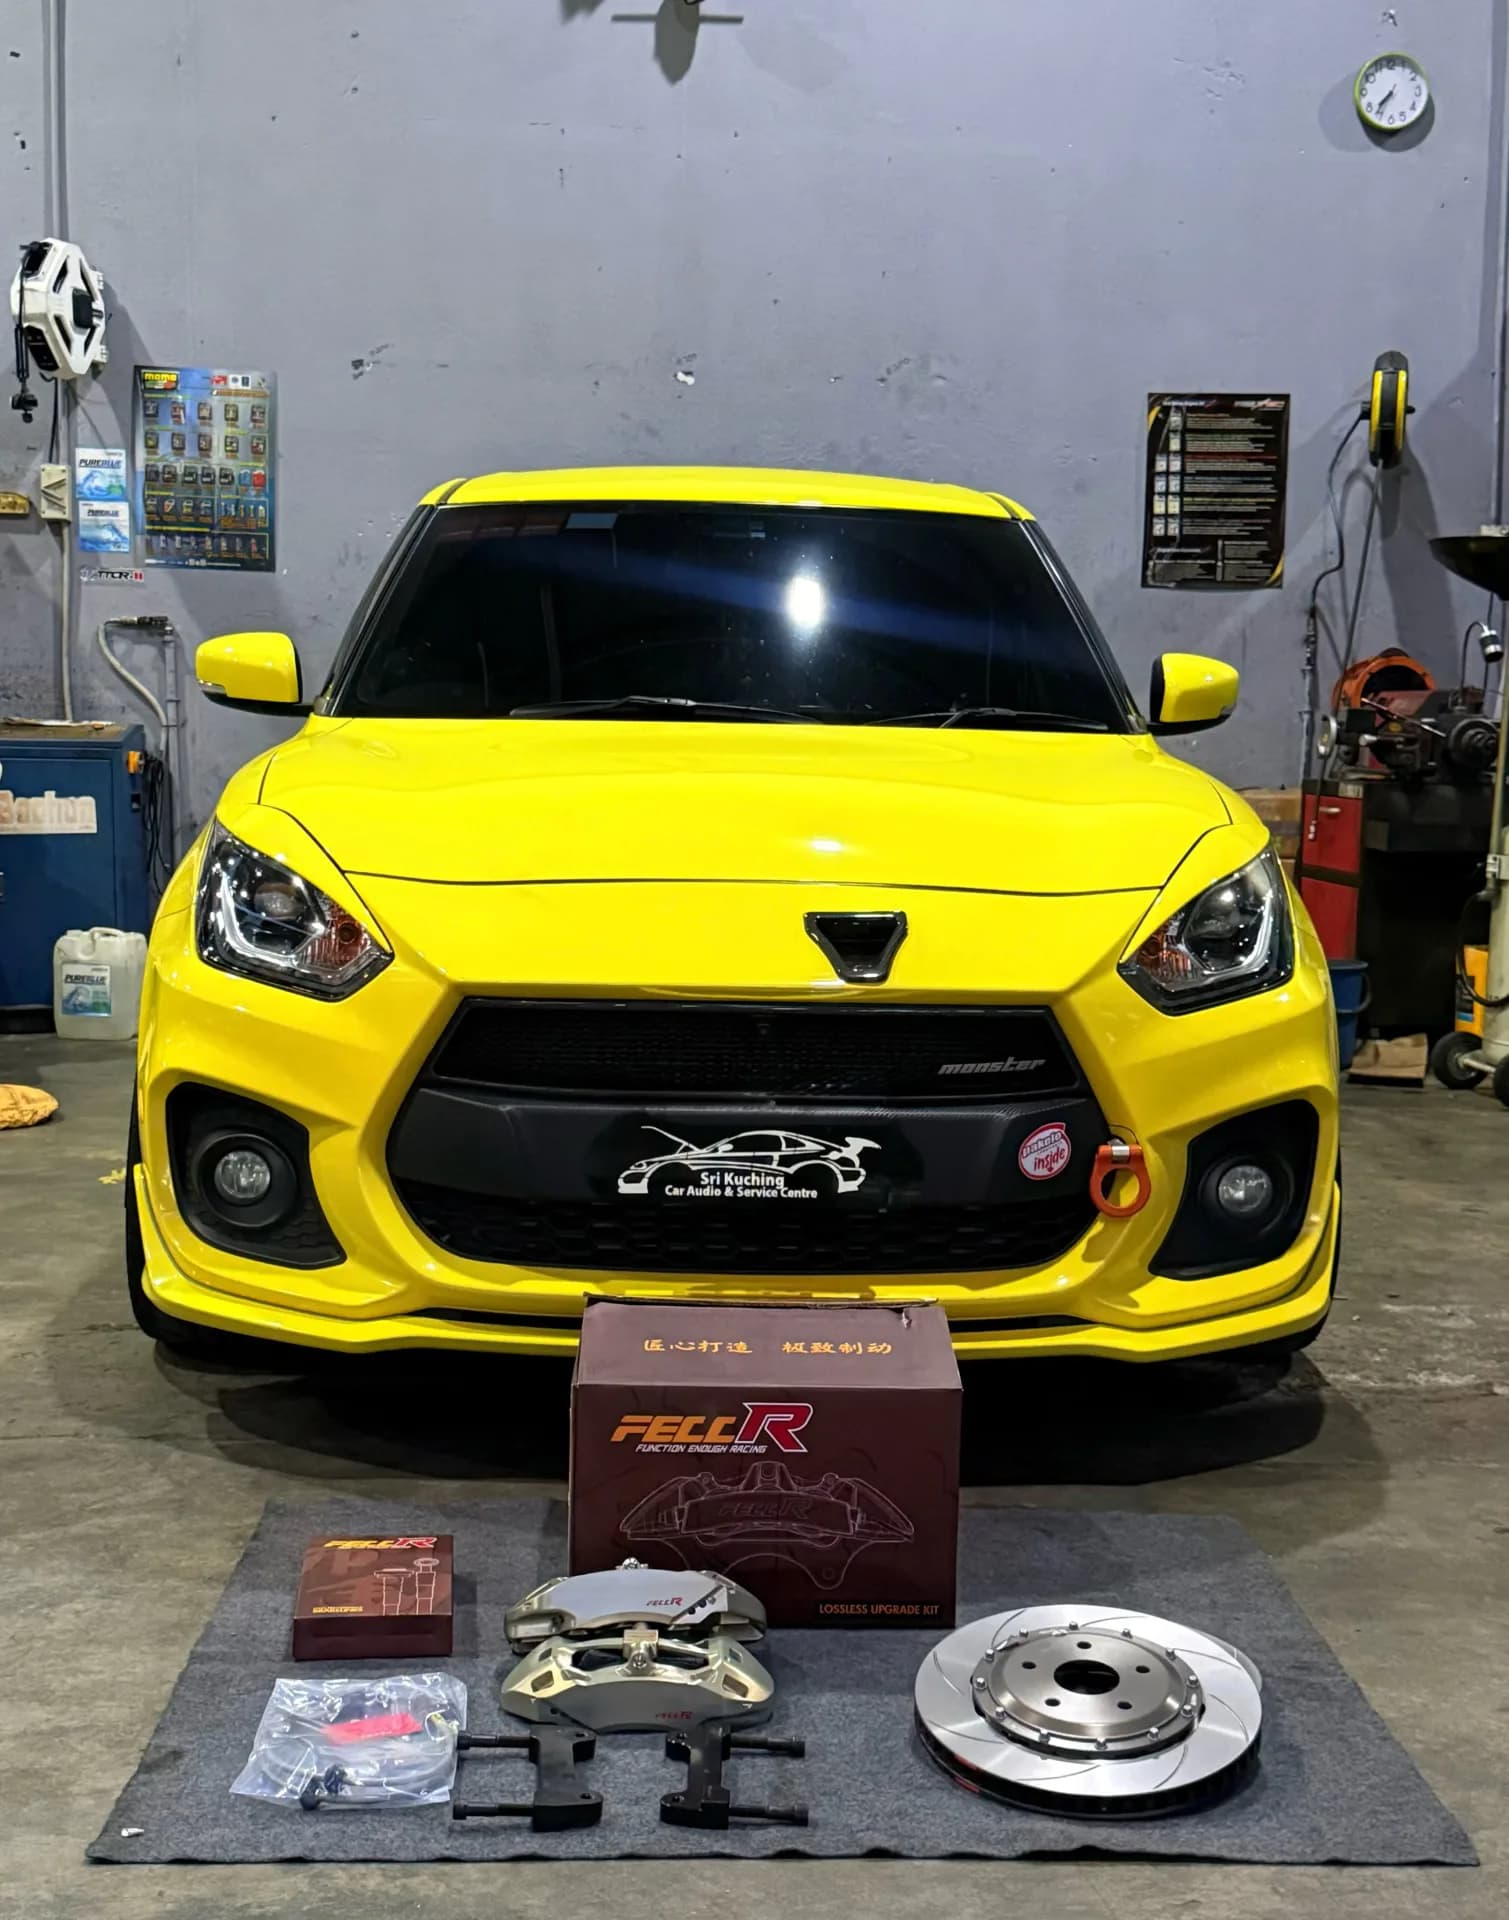
The Swift Sport during front brake work, with the wheel removed to expose the caliper and disc. The case documents a vehicle-specific FR5 installation.
View original case recordFrequently asked questions
Can I install a big brake kit behind my original wheels?
Possibly, but compatibility must be checked for the exact kit and wheel. Barrel shape, spoke clearance, width and offset matter alongside diameter. Original wheels do not automatically fit or exclude a larger brake package.
Can a 17-inch wheel fit a 6-piston brake kit?
Some combinations may fit and others will not. The caliper’s dimensions, rotor diameter and wheel’s internal profile determine the answer. Use the exact manufacturer’s template or dimensions and any required test fit.
Should I add wheel spacers to fit larger calipers?
Do not assume spacers solve an incompatible kit. They change wheel position and fastening requirements and cannot fix insufficient barrel diameter. Follow the kit manufacturer’s requirements and assess the entire wheel installation before selecting parts.
Does direct bolt-on mean a brake kit fits every wheel on that vehicle?
No. Direct bolt-on describes the mounting arrangement of the stated application. A particular original or aftermarket wheel can still interfere with the caliper or rotor assembly, so wheel clearance needs separate confirmation.
Should braking vibration or a soft pedal be fixed before an upgrade?
Yes. Existing vibration, excessive pedal travel, leaks or uneven braking should be investigated before recommending upgrade parts. Inspection establishes whether repair or maintenance is needed and whether a proposed kit addresses the owner’s actual concern.
Read the original workshop cases
See the vehicle photos, recorded work and outcomes from Sri Kuching. These cases document individual repairs; your vehicle needs its own assessment.
Continue reading
Compare FECCR Vellfire and Swift Sport upgrades, Jimny 4-piston brakes and Swift rear discs through Sri Kuching’s documented Kuala Lumpur workshop cases.
Choose a brake kit for daily, loaded or track driving. Compare 2-, 4-, 6- and 8-piston calipers, hydraulic compatibility and Sri Kuching’s FECCR cases.
Compare street and racing pads, six brake rotor design choices, fluid requirements and bedding-in, with Swift Sport and Vellfire workshop photographs.
Further technical reading
Technical information from vehicle manufacturers and specialist suppliers.